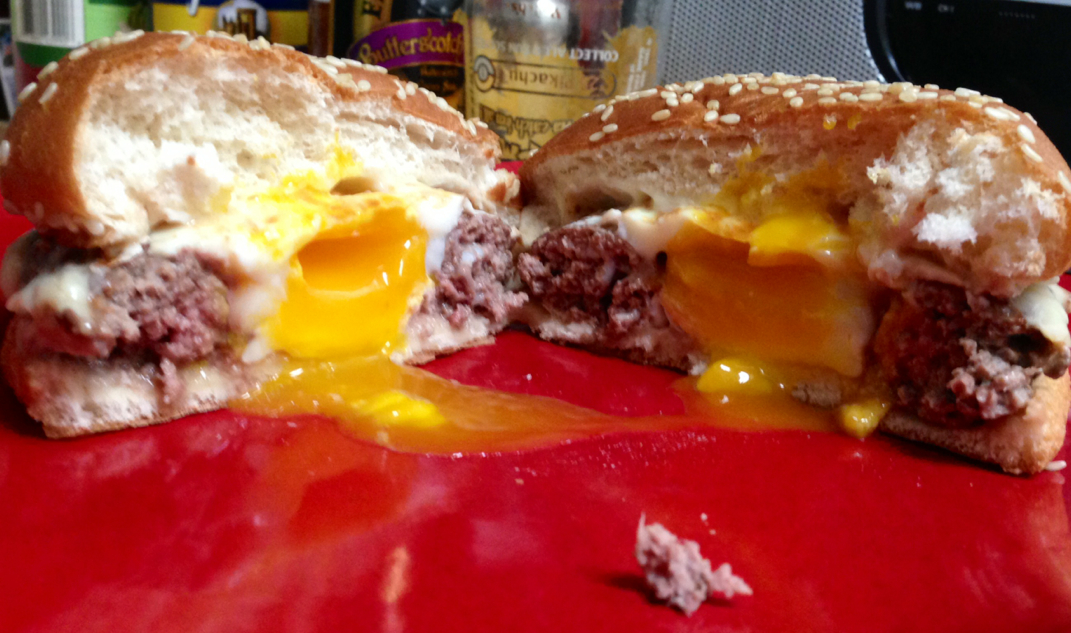
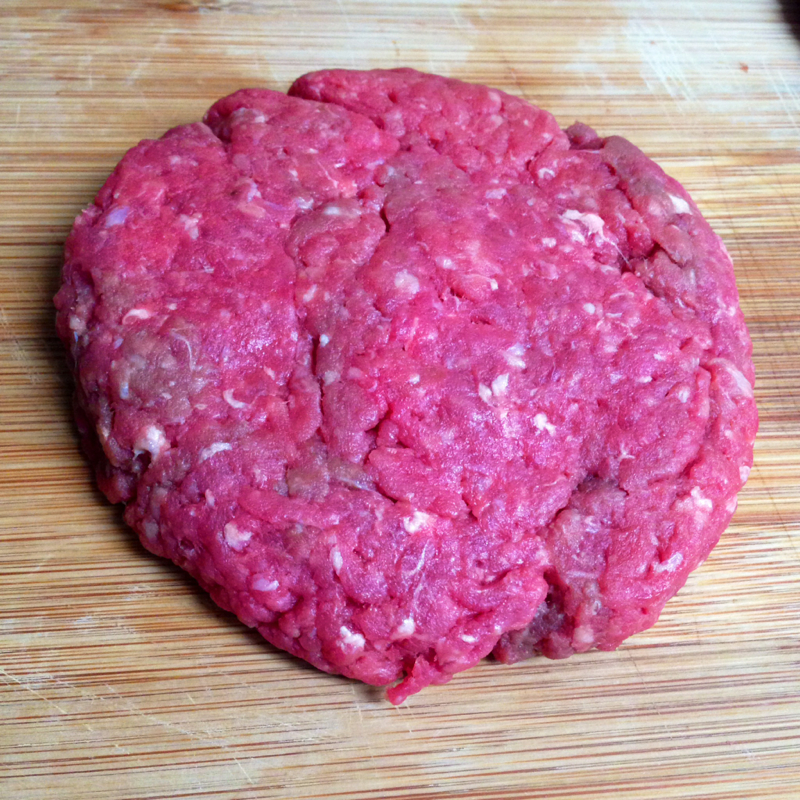
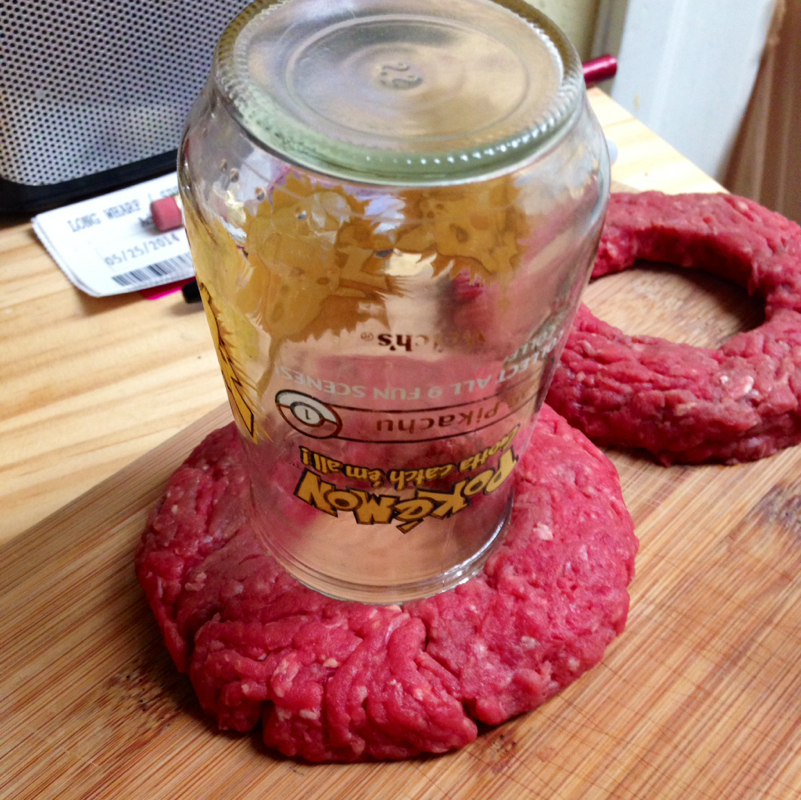
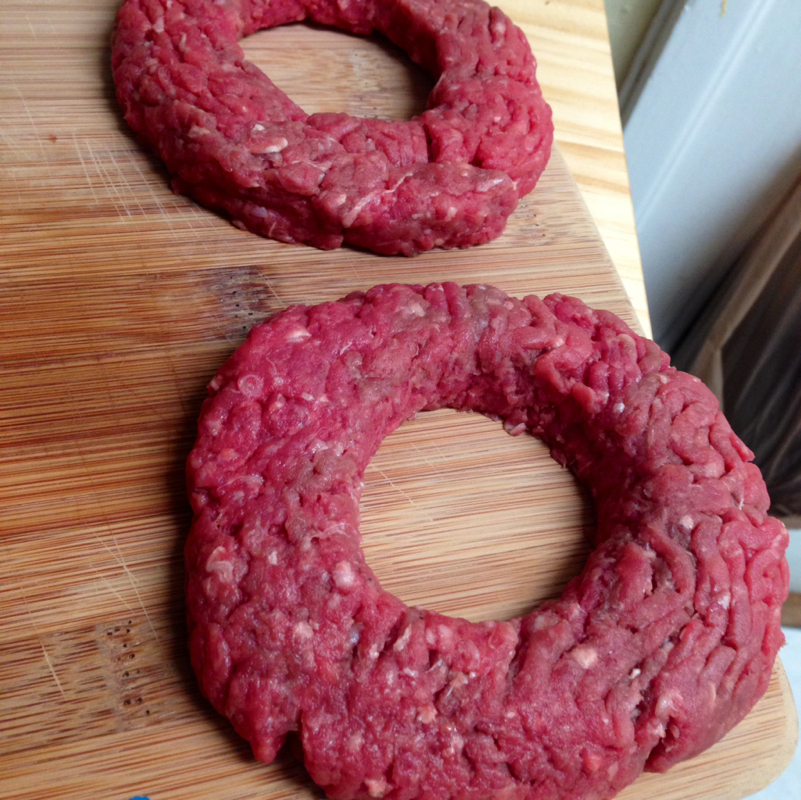
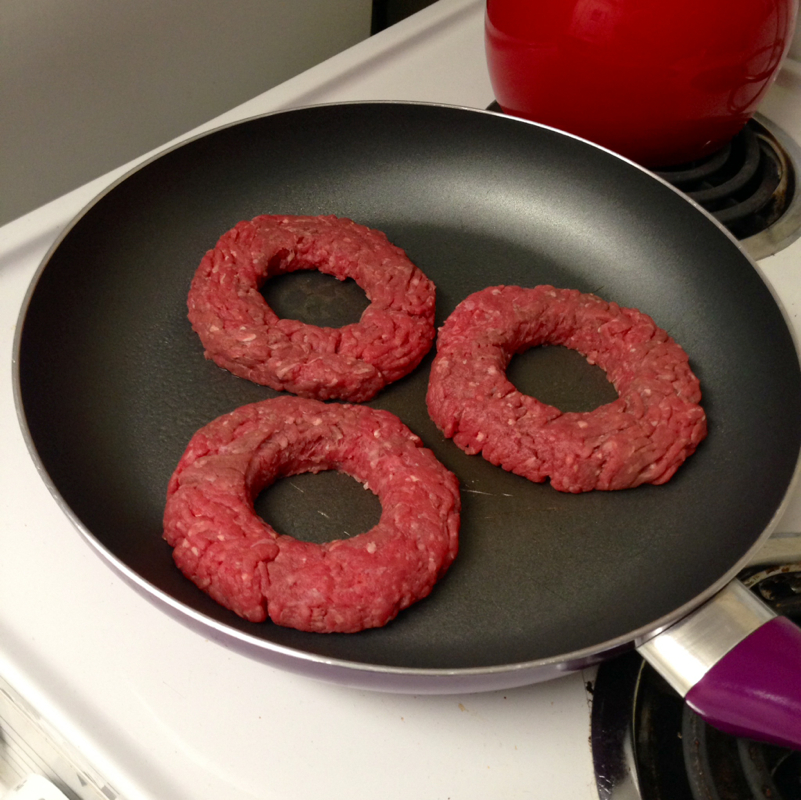
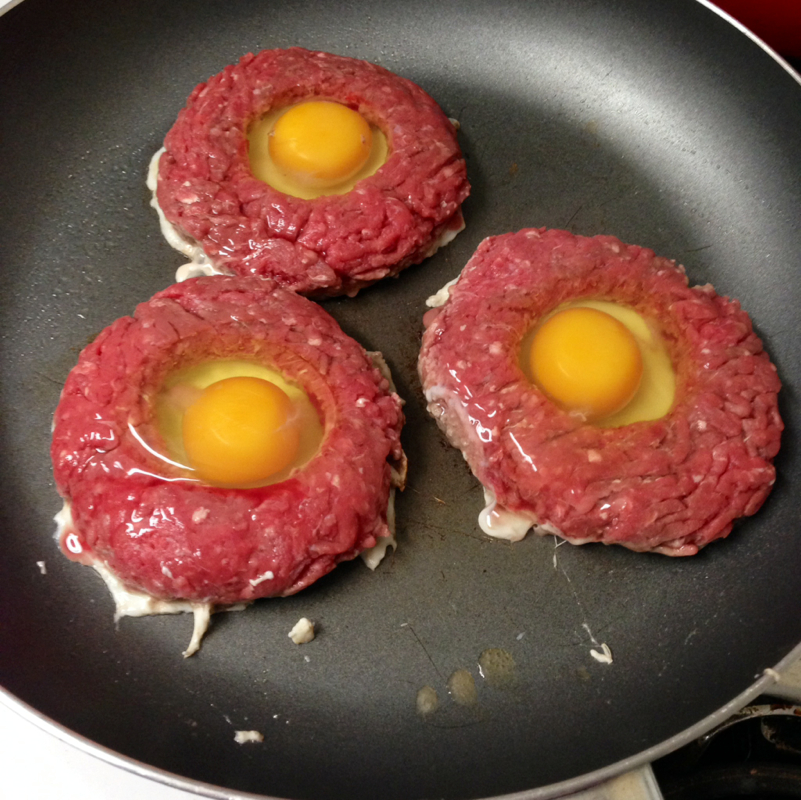
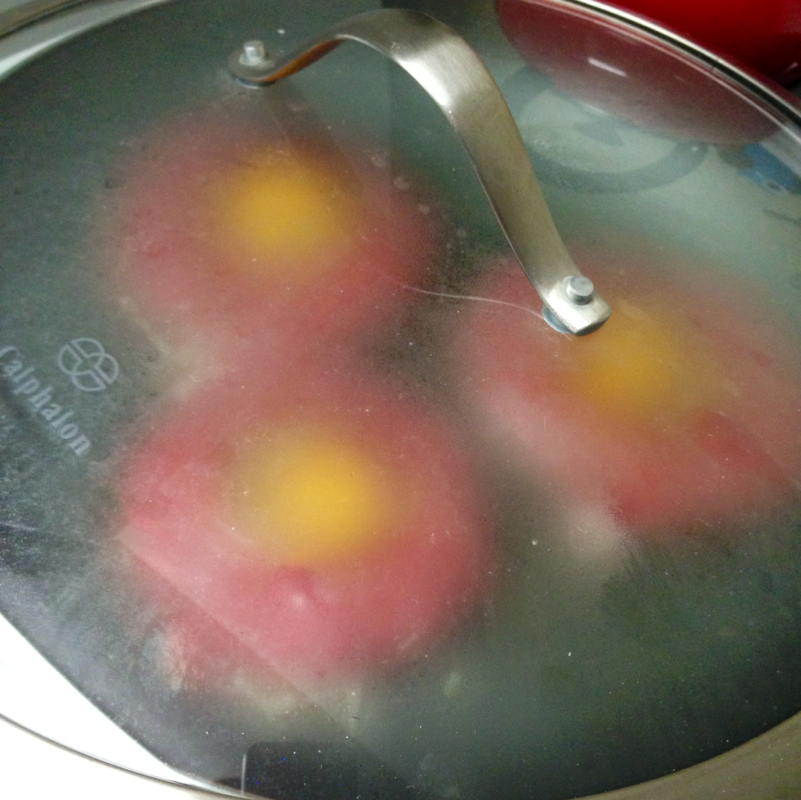
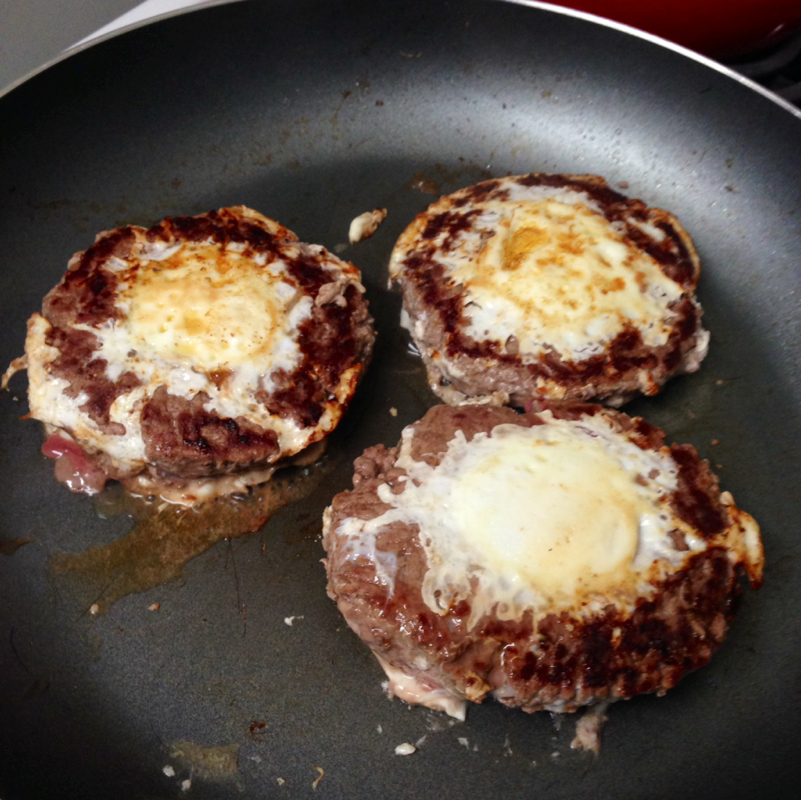
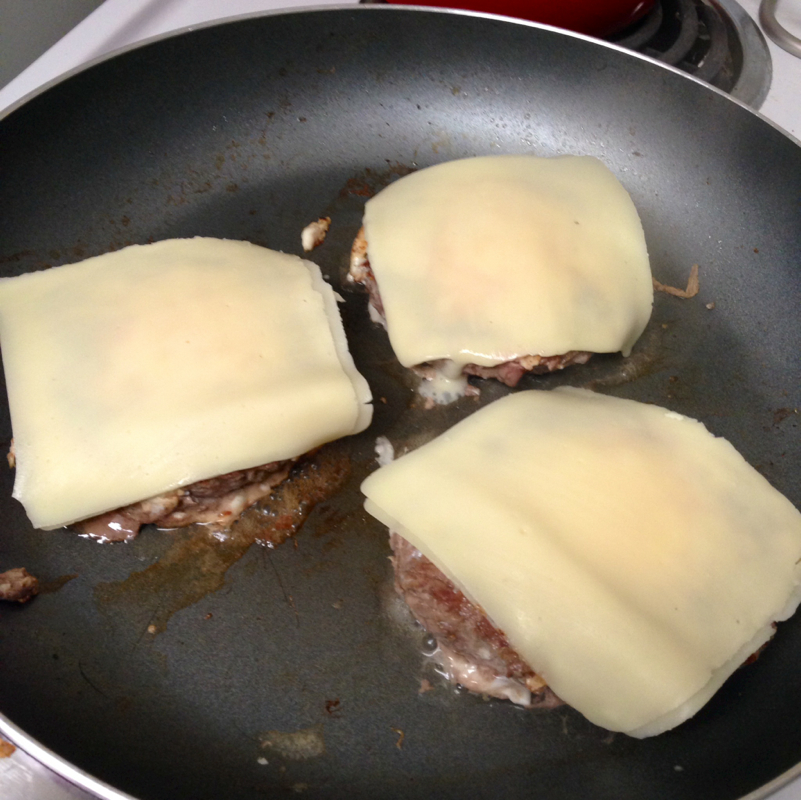
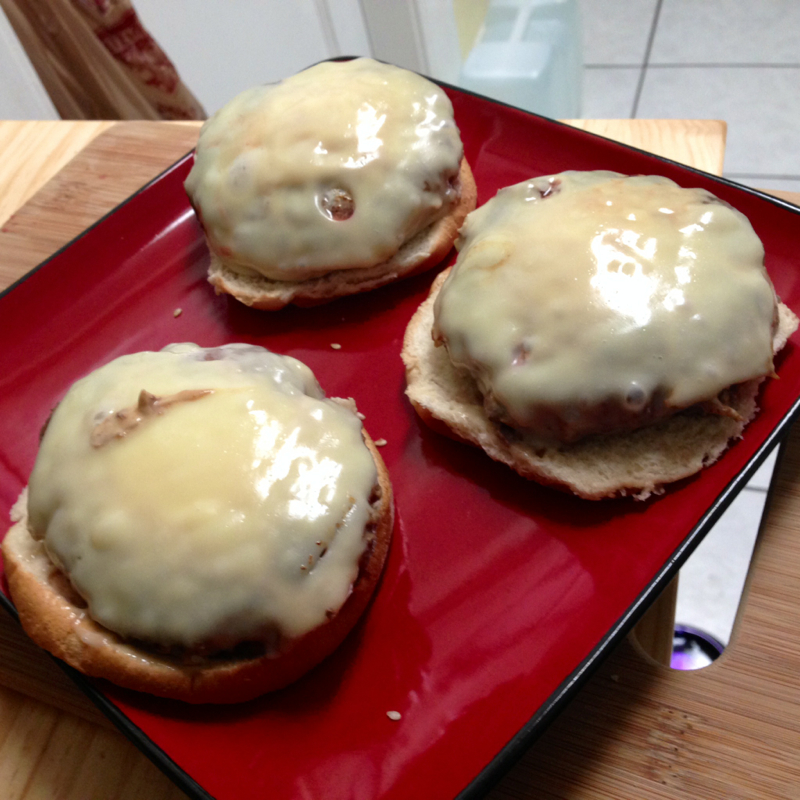
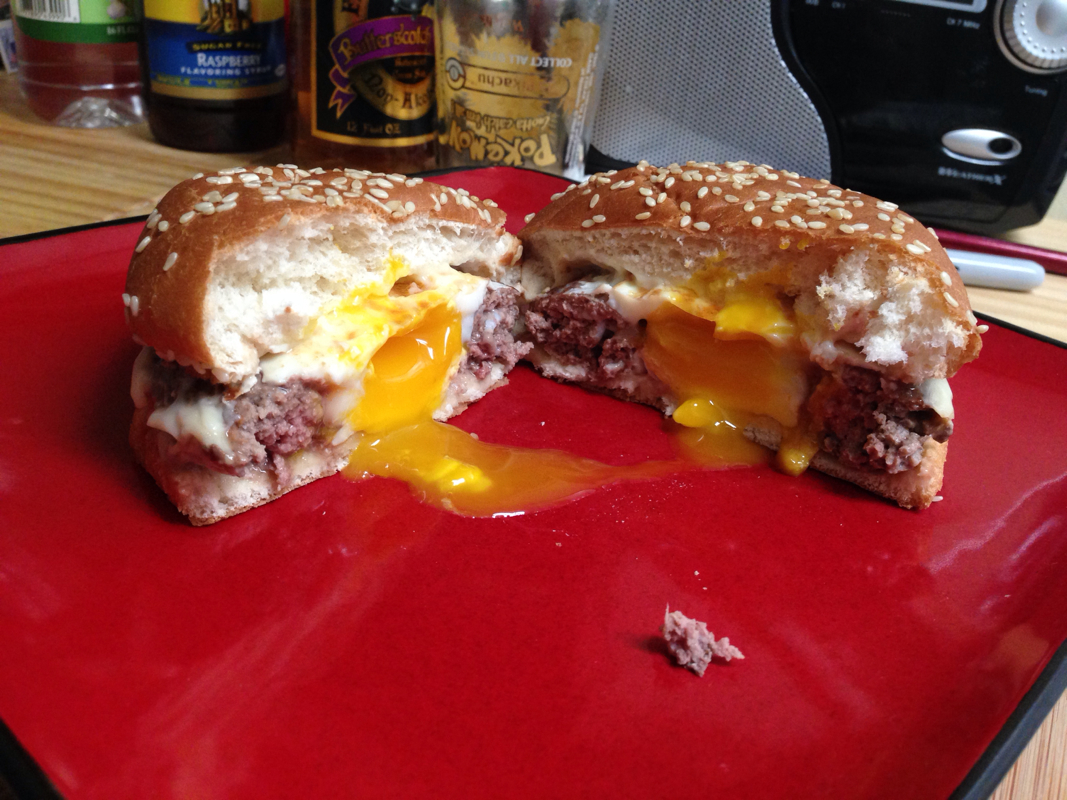
This is by far the most yummy burger ever created. There is something special about when a burger and an egg come together in a holy union of goodness. And this is #awesome. This tasty little burger is a variation to the eggs in a basket breakfast. And is very easy to make! Ingredients: Pam cooking spray (you do not want these puppies to stick!!) Hamburger (I like lean hamburg, but any variation works I found) And egg AMERICAN cheese. (Because 'Murica) Sesame seed buns 1) first you want to get your burges set up! Take a handful of meat and best it into a patty shape. You want it to be about 1/2" thick. 2) next take a glass (not to wide) and press down in the center of the burger and make a "basket" to hold your egg. Make sure the hamburger has a good outer circle. 3) spray the pan into your frying pan, and turn the heat on. For best release you really want that pan hot before putting on the burger. 4) add your burge to the pan. Press down with your fingers to make sure you have a good seal with your burger. You do not want this egg to go rouge. 5) once the burge begins to sizzle and pop and you can see the brown working up the edge of the burger, that's when you want to drop your egg in. It's inevitable that some of the egg will leak out around the burger. Just peel that away with your spatula for a nice clean look. 6) cover your frying pan. This will not only keep everything nice and juicy but it will help the egg set. 7) your egg will not set all the way through before it's time to flip. But it will become a little less jelly like. You really want to time this based on the burger. Make a good quick flip and start cooking the other side. 8) let this cook for about another 3-4 minutes. And add the cheese. Two slices of American cheese for each burger. Once the cheese is melted add to a bun and serve!
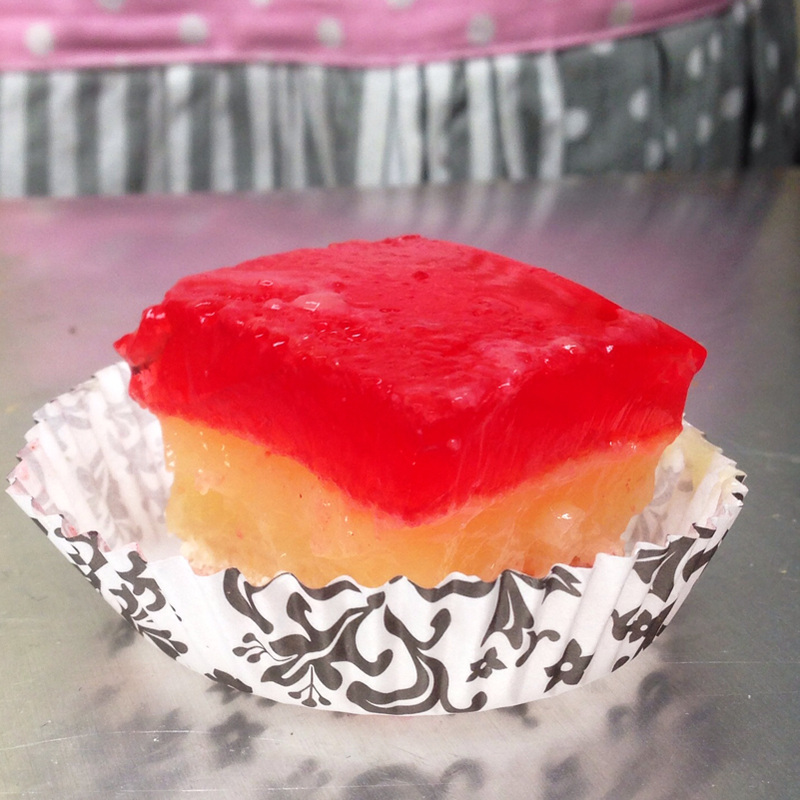
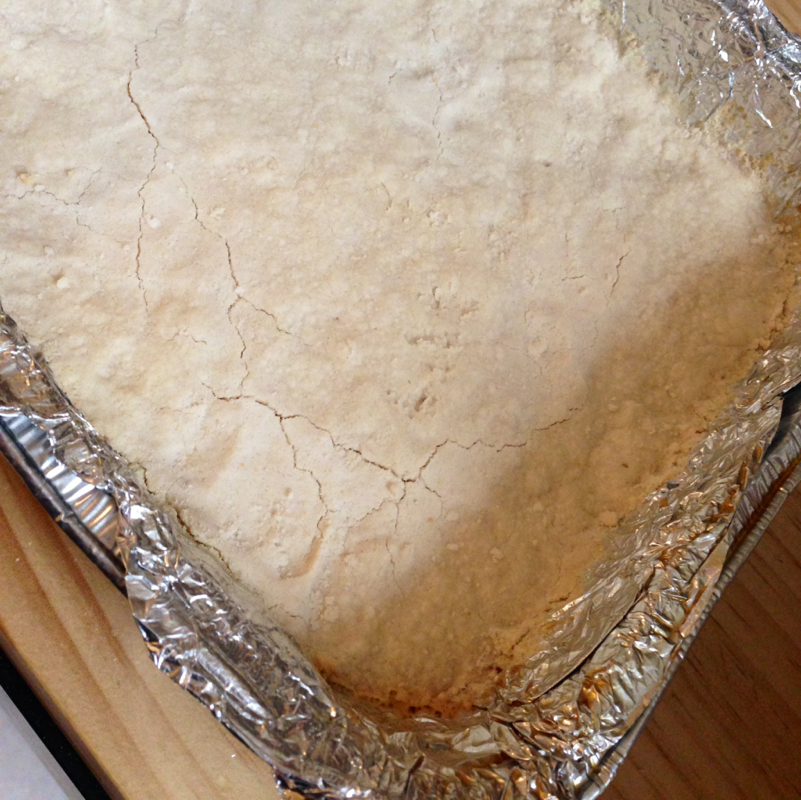
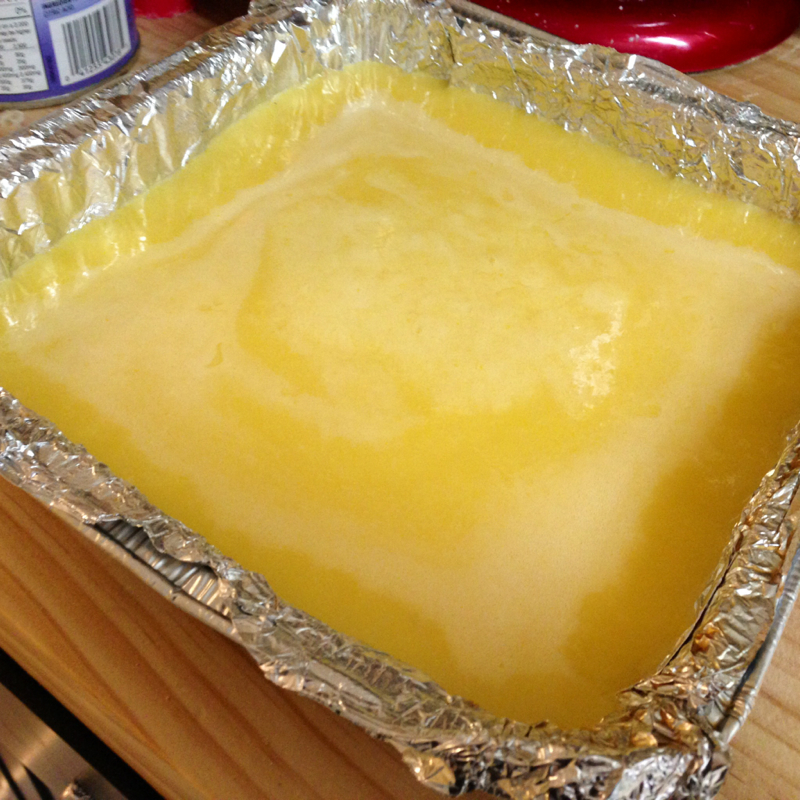
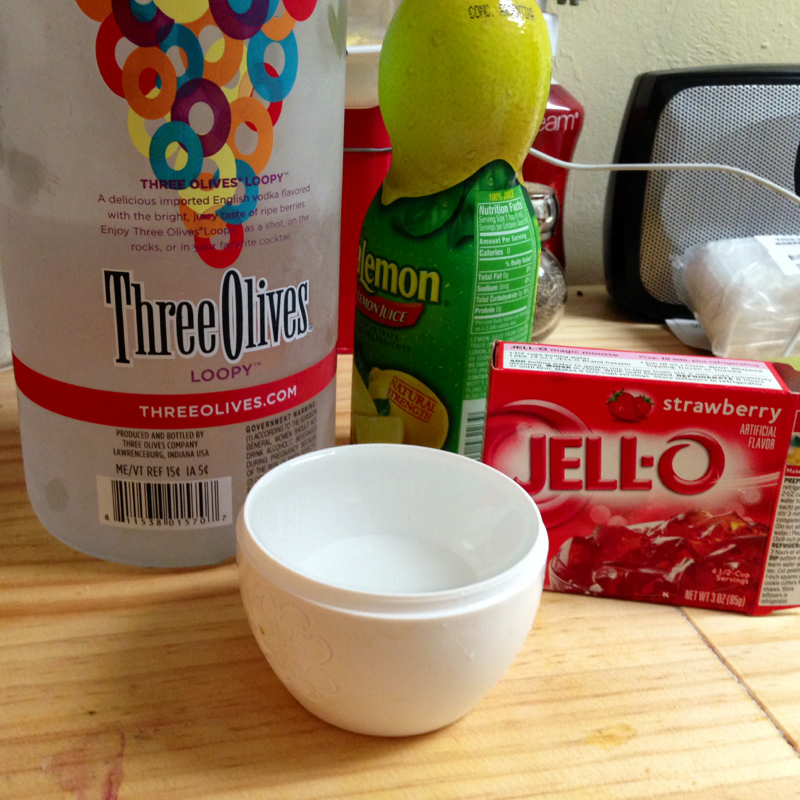
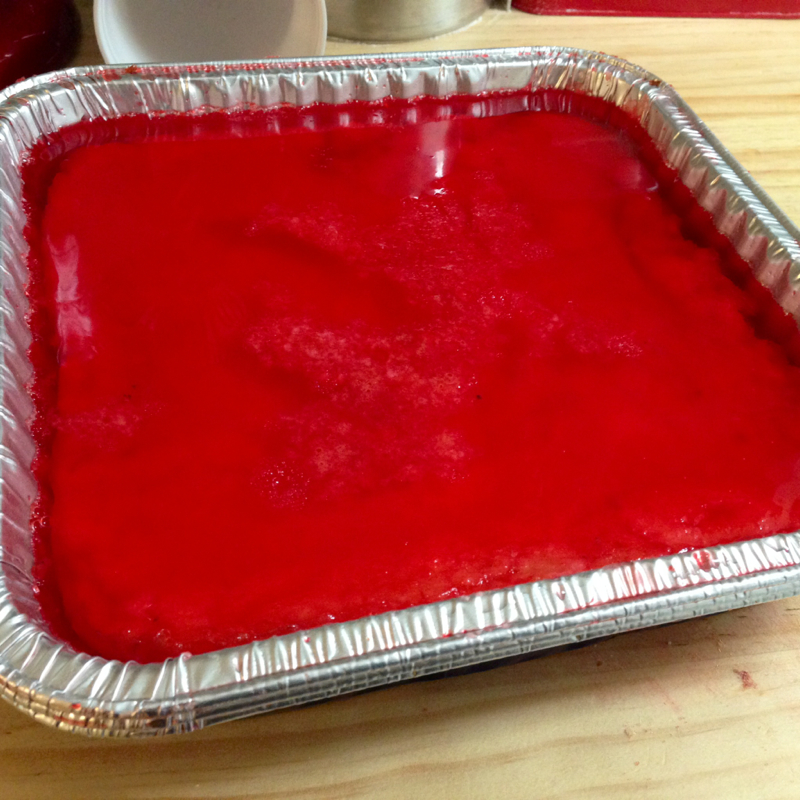
This is a great recipe for a summer party! It does take some preparation, so you probably want to make this the day before the party and then cut them up the morning of, however the presentation is nice, and they taste delicious! Also the instructions for the non alcoholic version is at the end of this recipe! First things first! Here's what you'll need. Lemon bars mix (I use the Krusteaz brand) Strawberry jello 1 cup cold water 3/4 cups citrus vodka 2 tbsp lemon juice Tin foil 8"x8" throw away tin pan 1) line your pan with tinfoil. This is so after your lemon bars are cooked the are easily removed from the pan, I'll explain why later. 2) bake your lemon bars according to the package. For the Krusteaz brand I've included the instructions below: 1 HEAT oven to 350°F. Generously grease bottom and sides of 8x8x2-inch baking pan. 2 STIR together water and eggs until well blended. Add lemon filling mix and stir with a whisk until smooth. Allow to sit while crust is baking. 3 PRESS crust mix firmly into bottom of pan. Bake 8 minutes; crust will be pale. 4 STIR filling mixture again and pour over hot crust. Bake 26-28 minutes or until edges begin to brown. For ease of cutting, chill 1-2 hours. Store in the refrigerator. Makes 16 lemon bars. 3) Once your lemon squares are baked remove them from the tin pan and let them cool completely. It is VERY important that they are cooled completely prior to starting your next step. 4) once completely cooled, remove the squares from the tinfoil and place back into the tin pan. The reason you did this is so when you are cutting them up later they will be easily removed without damaging the jello to much! You want these to look pretty! 5) next step is to prepare the jello!!! Your going to prepare the jello as per usual. Boil the water (1 cup) add the jello and stir. After the jello is completely dissolved your going to add 1 cup water, 3/4 cup citrus flavored vodka, and 2 tbsp lemon juice. 6) let this cool for about 5 minutes. You want to pour these over the lemon squares before the jello begins to set, but not to where it's boiling hot still. 7) place in refrigerator overnight to set. 8) snip each corner of the tin pan and peel each side down. This will make it easier to cut into little bite sized squares. I placed each bite into mini muffin cups and served them! You may need to cut off a bit of each side in order to get a nice square! These are a big hit at any party! And would taste just as good without any alcohol! Just follow the instructions on the jello for the non-alcoholic version!
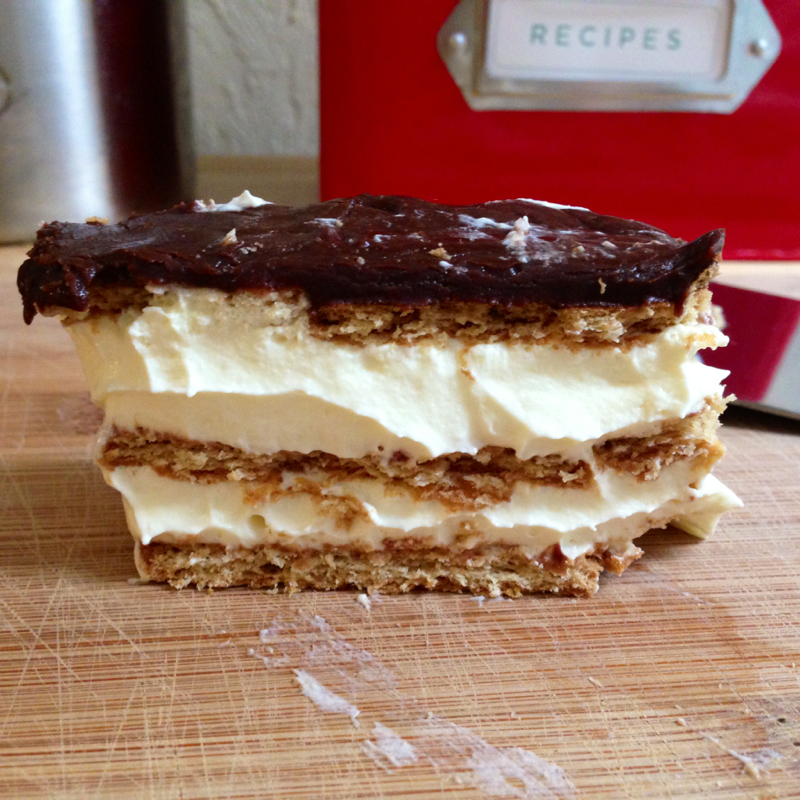
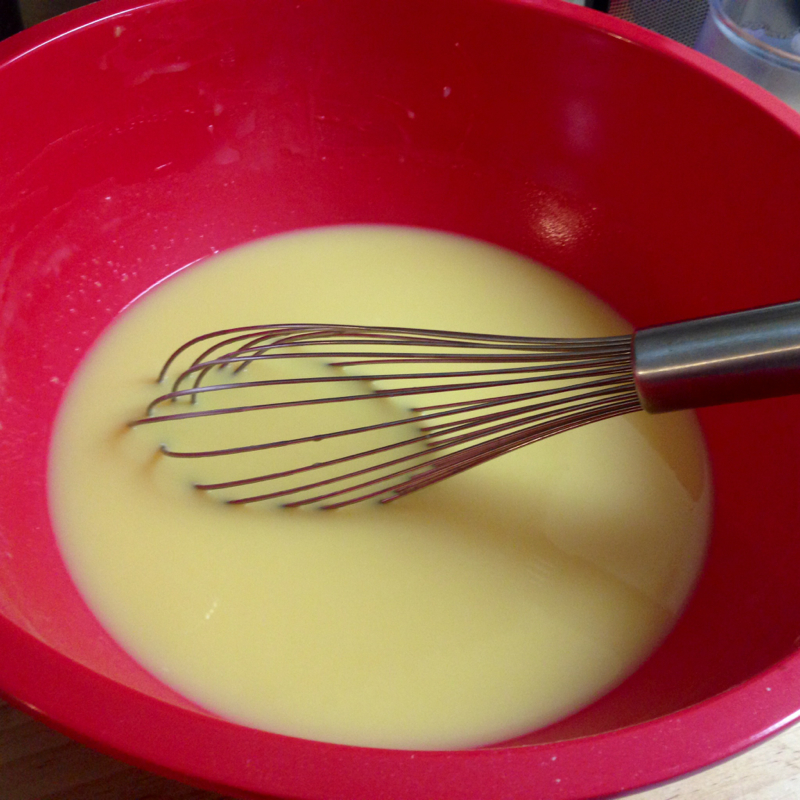
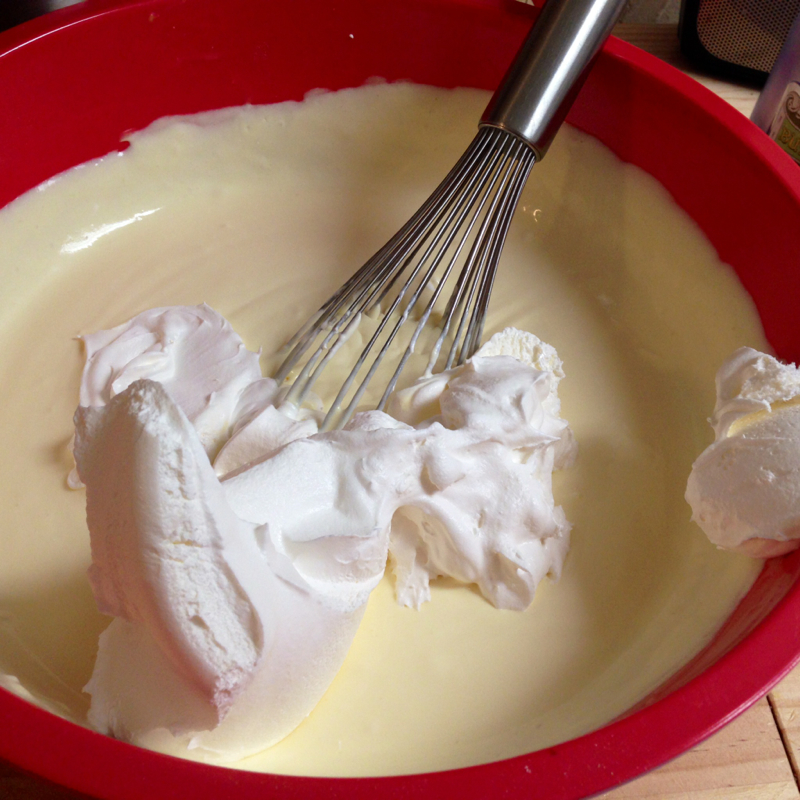
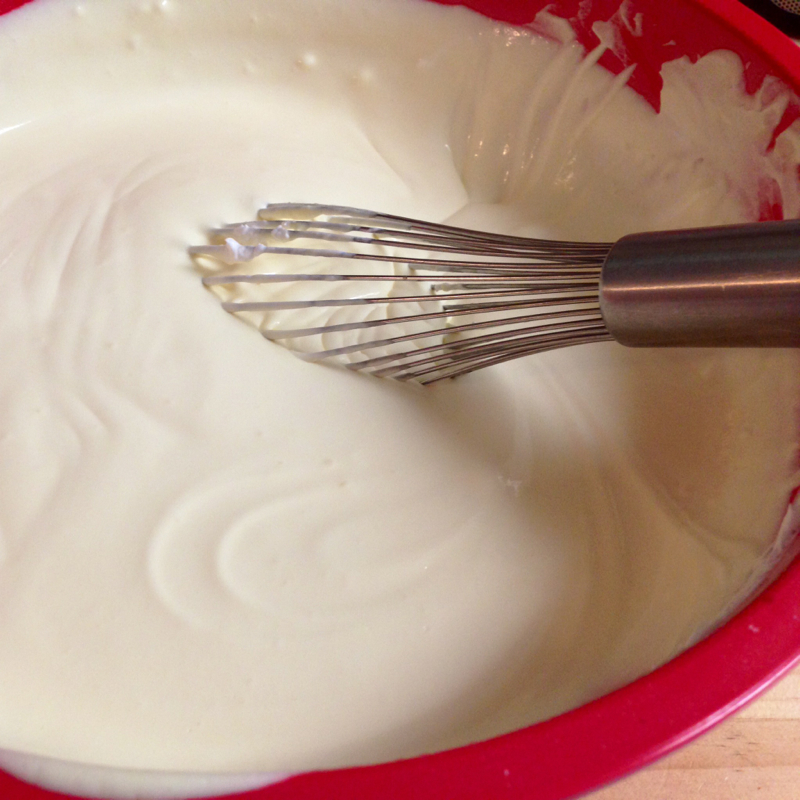
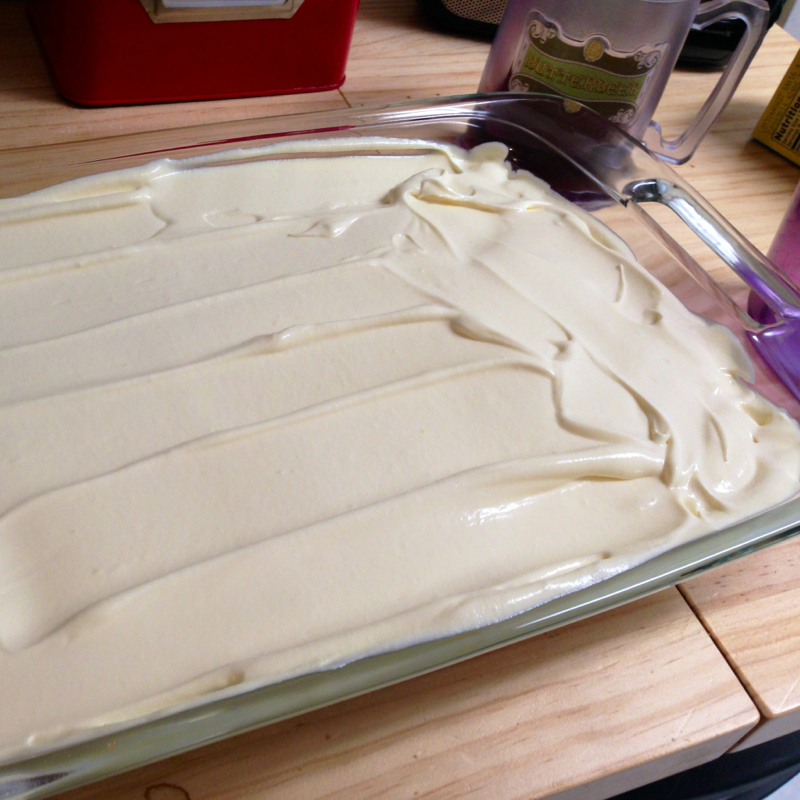
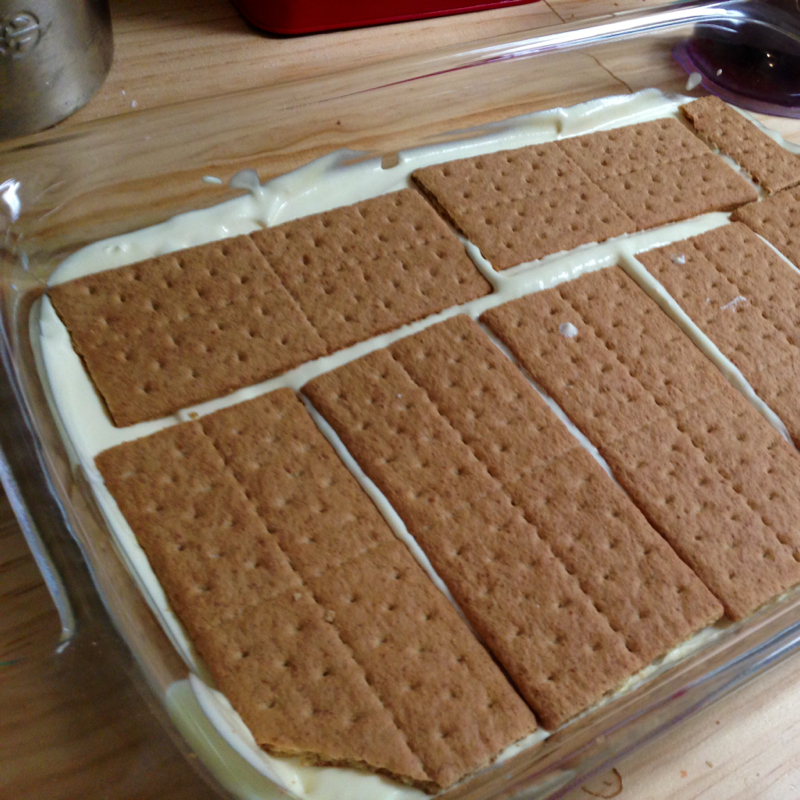
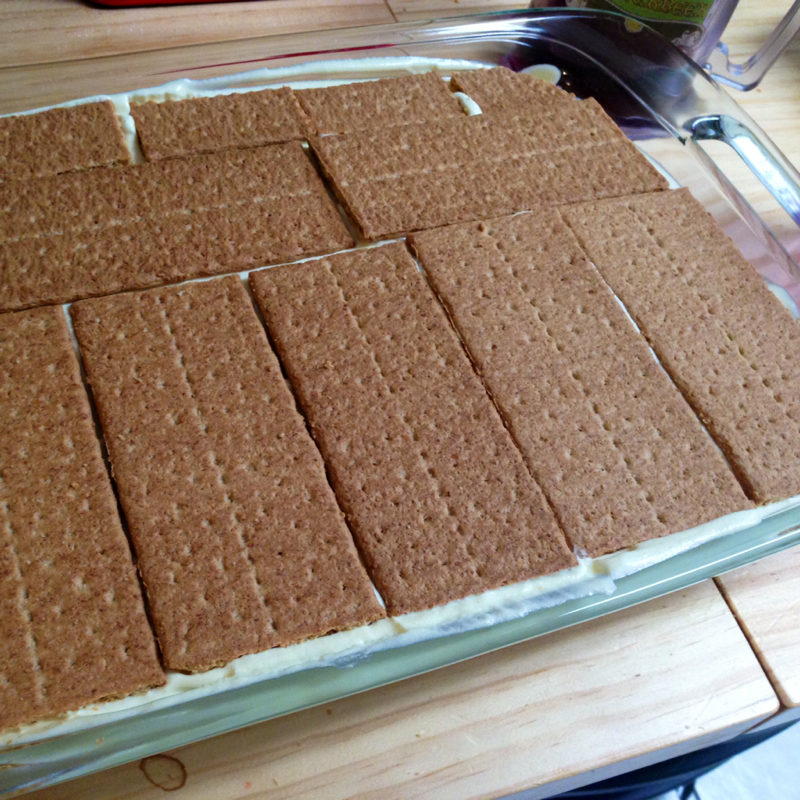
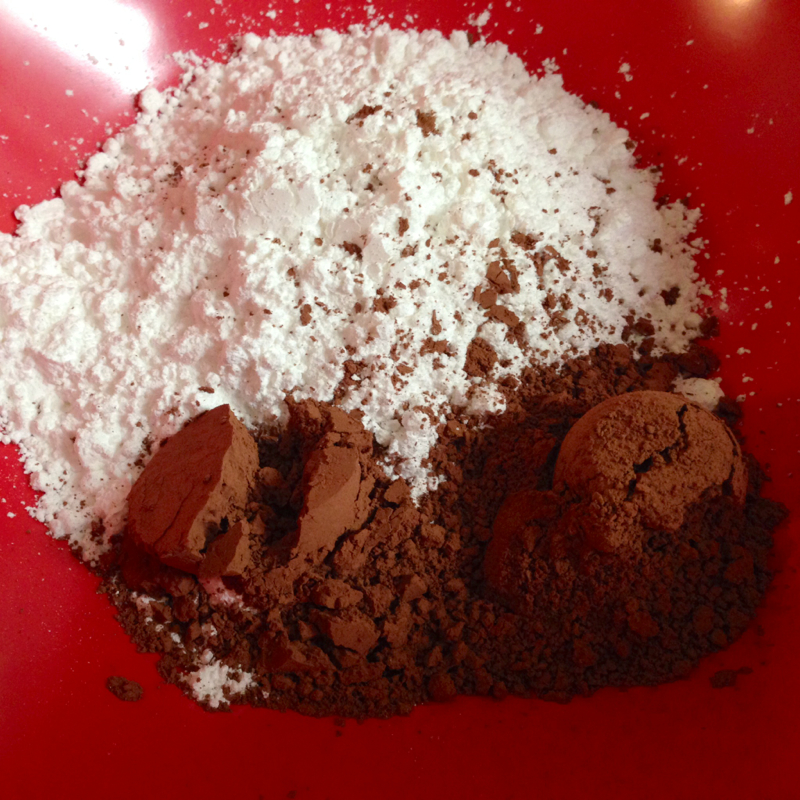
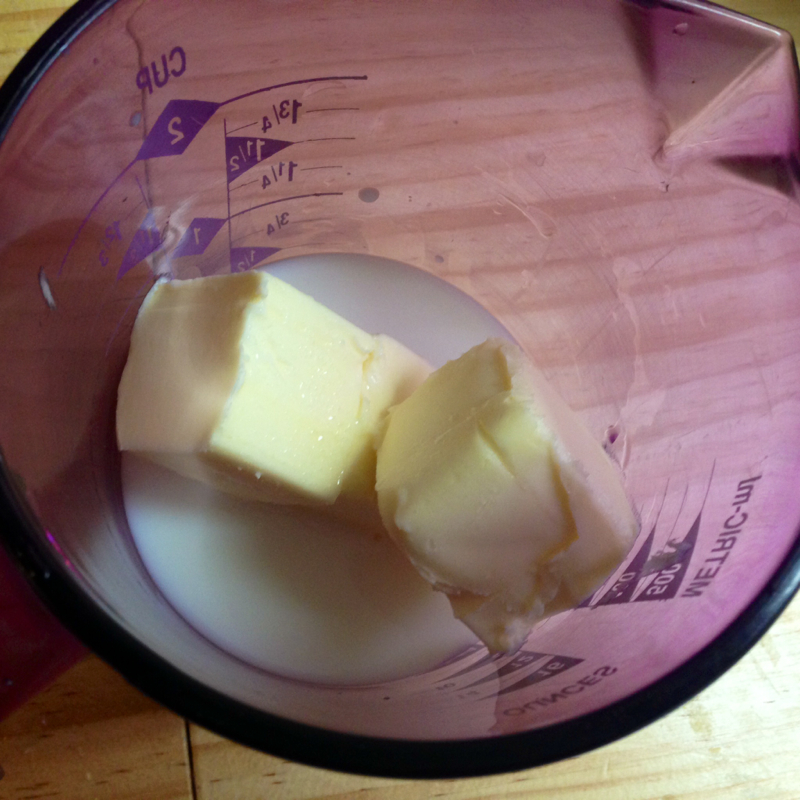
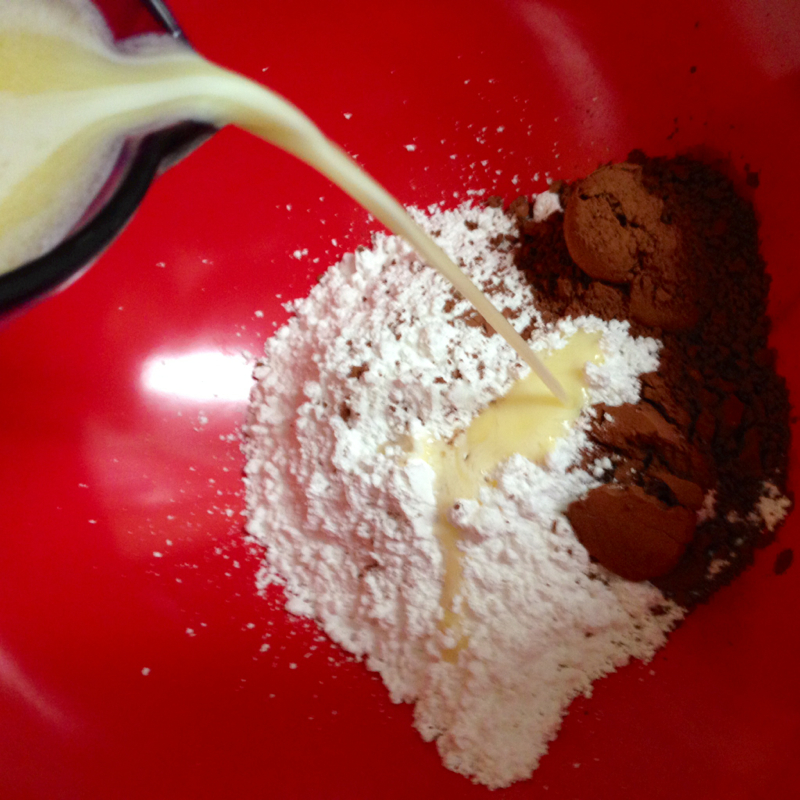
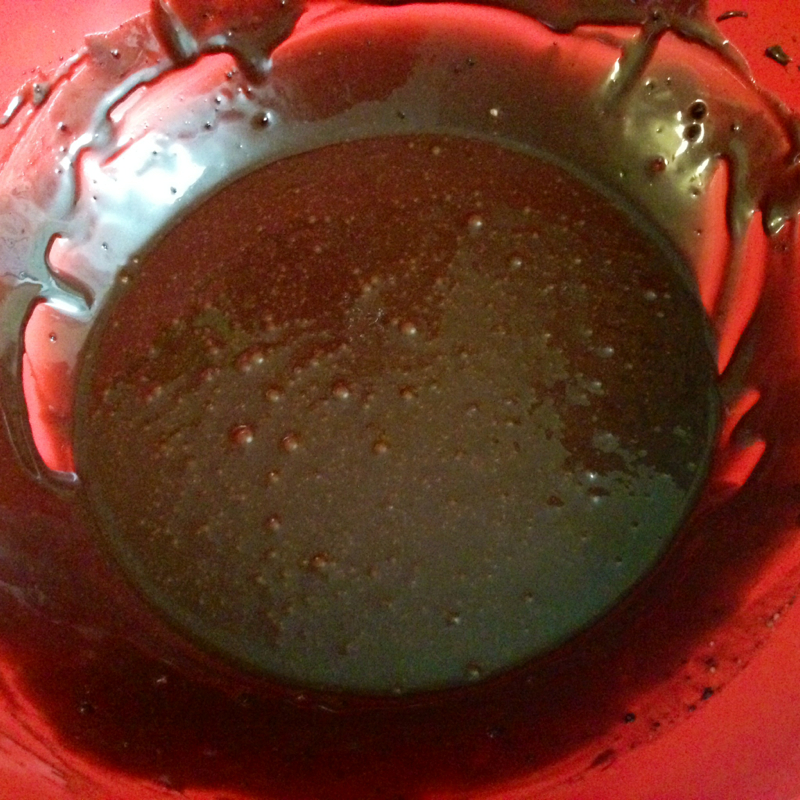
It's light, cool, not to hard to make, and the best part is? You don't even have to turn on your oven. Ladies and Gentlemen I give you the Eclair Casserole. Hold on to your butts. This one is going to be amazing. Here is what you need (This fills a 13x9" pan): Two packages jello instand vanilla pudding mix ***dry*** 3 1/2 cups milk 12oz cool whip topping 1 box of graham crackers (plain or honey) ** for the frosting ** 6 tbsp butter 6 tbsp milk 6 tbsp cocoa 2 cups confectioners sugar First thing your going to do is line your pan with graham crackers. You may have to break and shape them so that you can cover the bottom of the entire pan. One you have your base layer of crackers down, it's time to mix the filling. In a large bowl mix together the pudding mix, milk, and stir for about two minutes. One the pudding seems to be thickening, fold in your cool whip. Continue to mix until the mixture is smooth and lump free. It helps if you make sure your cool whip is completely thawed out prior to using. Slowly.... And I mean SLOWLY, pour half of the mixture over your layer of graham crackers. If you pour to quick they scatter everywhere and then you just have a delicious mess. Try to smooth out the topping so it's nice and even. Next your going to add another layer of graham crackers. Same as before, trying to cover every inch of the pan. Take the remaining filling and pour ontop of your new layer if graham crackers. Again you want to smooth this out, because your going to add one more layer of graham crackers to this. Make sure this new layer of graham crackers is face down. You want the smooth side facing up to create a nice smooth surface for your frosting. Let this chill in your refrigerator while your work on the frosting. FOR THE FROSTING. In a medium bowl add the confectioners sugar and the cocoa. In a small microwave safe bowl add your butter and milk. Your going to microwave this at 30 second intervals. You want them to be melted together, but not boiling. What helps is cutting your butter into 2 tbsp pieces. Once melted pour slowly into your bowl with your sugar and cocoa. Wisk together until smooth. This creates a nice chocolate "glaze". Think chocolate frosted donuts. Pour chocolate frosting over your last layer of graham crackers. You can smooth this over if your need to, but if the frosting is made right, it basically will take care if itself. Once frosted- refrigerate overnight. ENJOY!!!
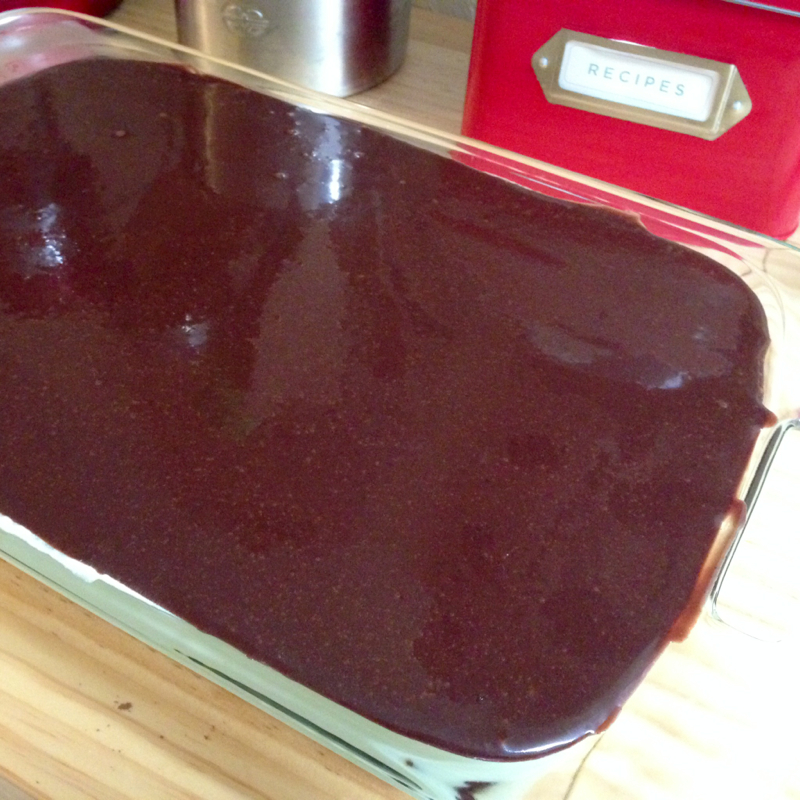
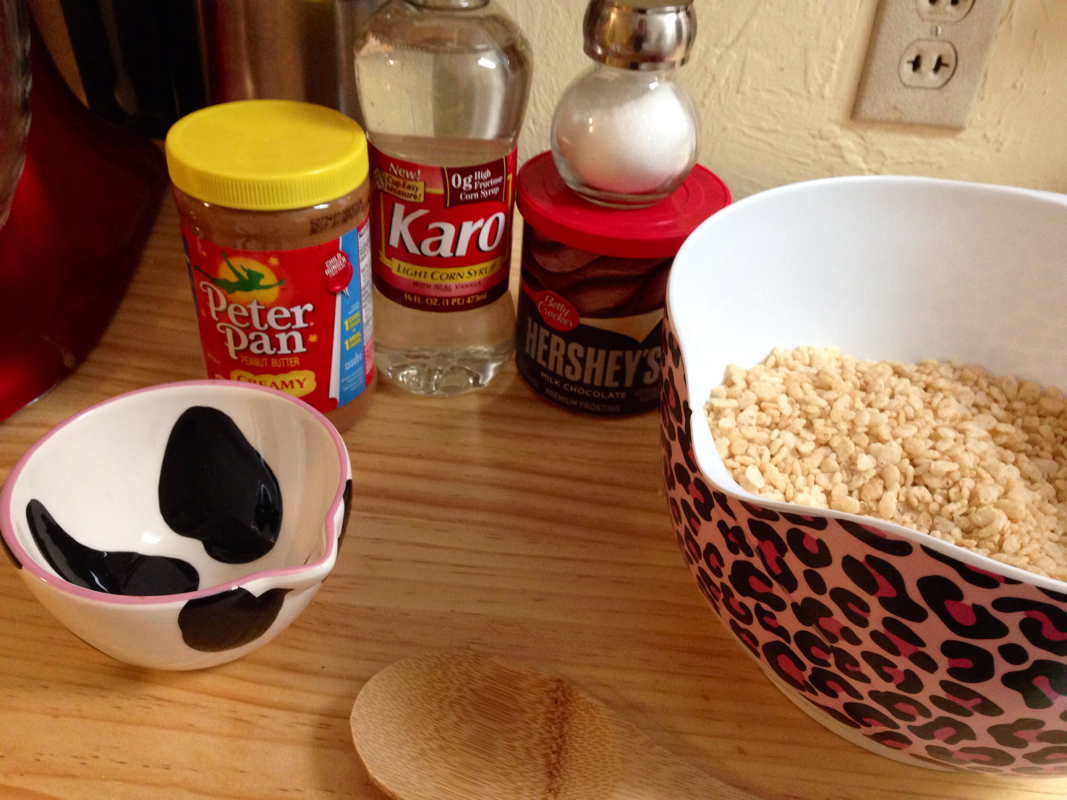
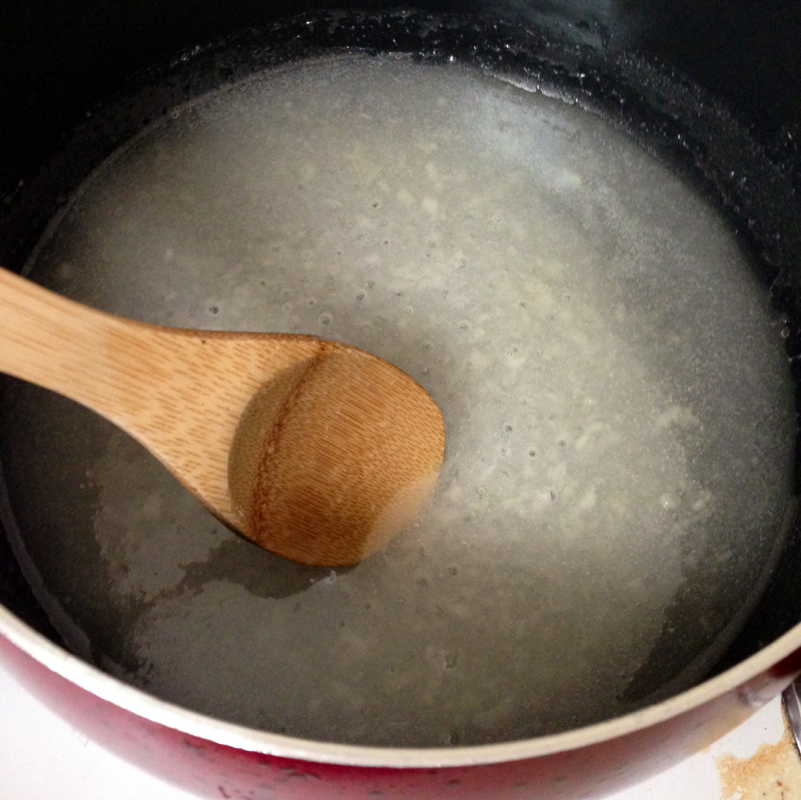
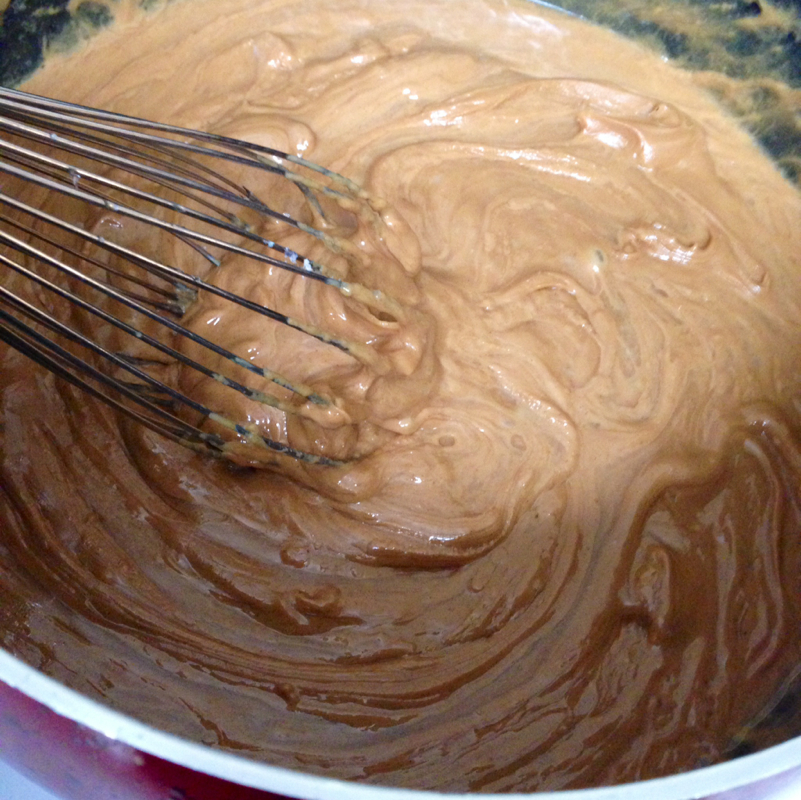
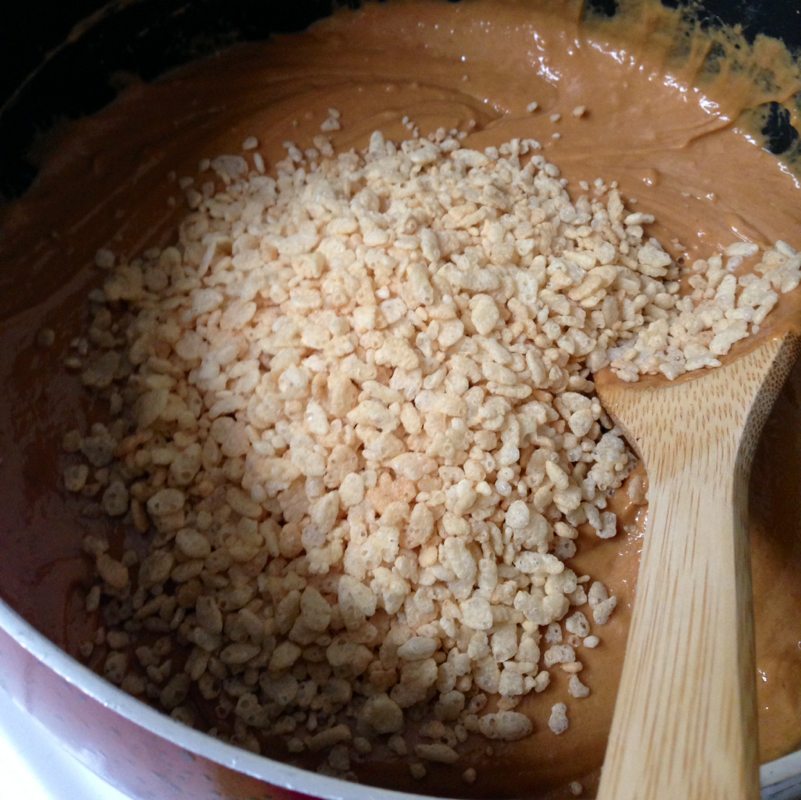
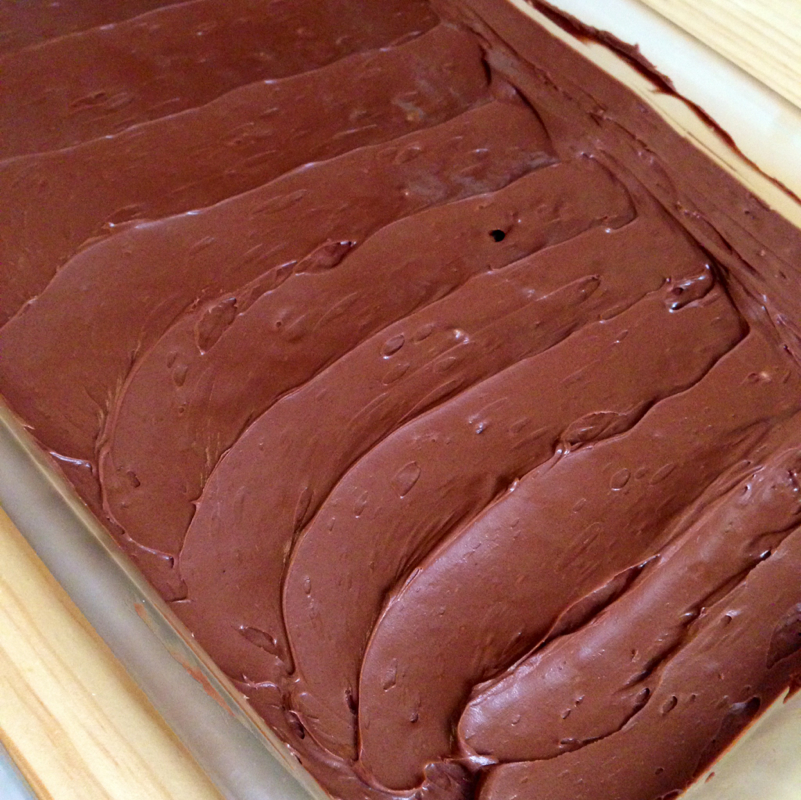
I love this recipe. This is a family favorite!!! Think rice crispy squares on steroids. My father used to make it all the time. It goes fast at parties so make sure to make two batches! One for you to bring and one for you to keep!! You can also directly cut this recipe in half to make a smaller batch! This recipe fills a 13x9" pan. Here's what you need! 1 cup white sugar Dash of salt 1 cup white corn syrup 2 cups peanut butter 4 cups Rice Krispies 1 can of your favorite chocolate frosting *I recommend using a glass 13x9" pan. This desert is sticky and this eliminates the need for lining the pan with foil* Directions! - cook sugar, salt, and syrup over medium heat until sugar is dissolved, stirring constantly. This will take about three minutes. - Remove from heat, add the peanut butter and mix well until peanut butter is smooth and melty. - Fold in Rice Krispies, add this in about 1 cup intervals. This ensures a nice even mixture. - Spread mixture into foil lined pan. (If you take my advice about using the glass pan, you won't need the foil). - chill until set. Frost with your favorite chocolate frosting. I really like the Hershey's milk chocolate frosting if I'm to lazy to make my own. Which I was tonight :-) - Let this chill in the fridge just to set the frosting. After that you can bring it as is, or cut them into squares and serve all fancy like :-) ENJOY!
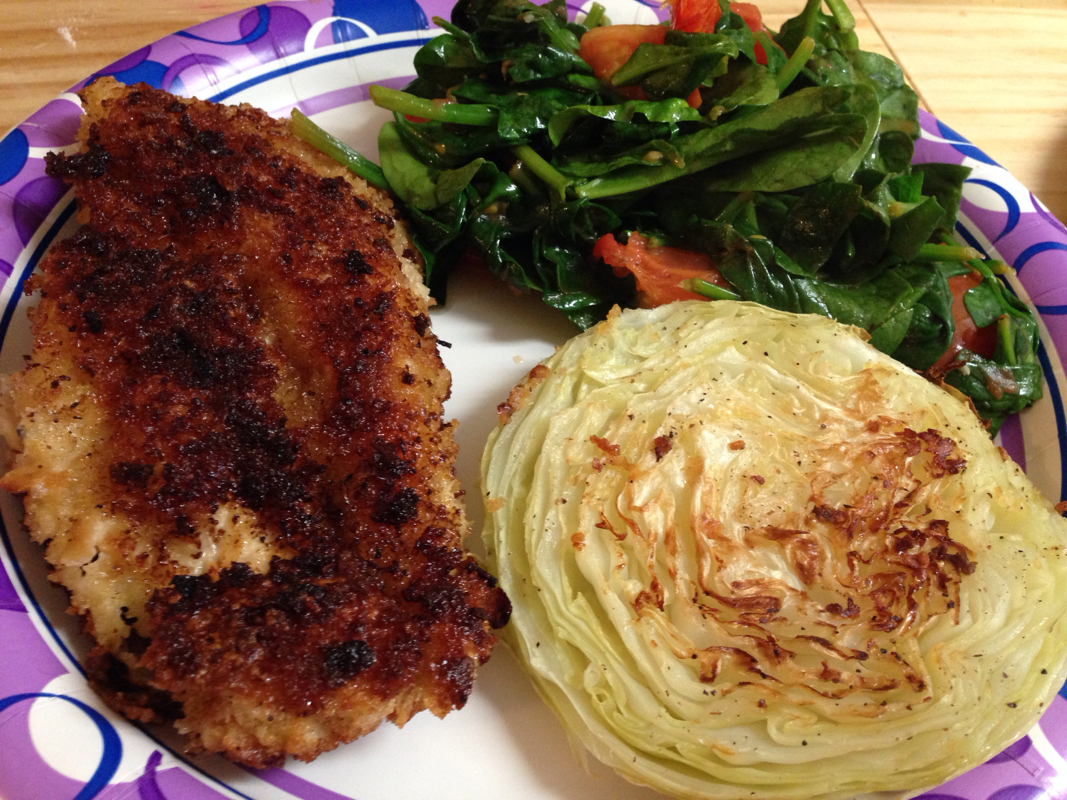
Bonus recipe! Because right now I'm on the blog, plus dinner was yummy. So here is one of my own creations! Fried onion Panko crusted chicken. Ingredients: Small container of frenches fried onions Panko bread crumbs 1 egg All purpose flour Chicken breasts Olive oil Directions: I find it easier to set out three paper plates and a small bowl as this gets messy and it's easy clean-up. Beat that egg with a fork! In the small bowl! Add flour to one plate and the Panko bread crumbs in another. Take a handful of the frenches fried onions and literally crush it with your hands onto the top of the bread crumbs like your the hulk. Wash your chicken breast and get rid of all that gross chicken slime it always seems to have, yet we still continue to eat it. Dip your chicken into the flour first. This helps lock in the juices. (As opposed to chicken slime!) Followed by a quick dip in the egg bath. Let all the excess egg drip off. And throw that sucker on top of the bread crumbs. Do not pick up the chicken and flip it over until you've coated the top with bread crumbs. Really pack them on there. Flip it over and make sure to pack the bread crumbs onto the other side as well. Add some olive oil to a warm pan. (It's easier to spread around the pan if it's warm!) you probably want about a table spoon of olive oil per chicken. Keep your pan on medium heat. Once the oil is heated up throw in your chicken. It's about 5 minutes each side or until chicken is firm and crust is a nice golden brown. Voila! This is what I served the chicken with: Cabbage steaks!!! (Randy loved these!) 1 1lb cabbage head. 1 1/2 tablespoons olive oil 3 smashed clove a of garlic Pepper and salt. Preheat Oven to 400F. Place rack on middle rung. Cut stem off the cabbage. Continue to slice cabbage in 3/4 inch slices. Spray a cookie sheet with cooking spray like Pam. Rub each side of the cabbage with the garlic. Using a brush coat each side of the cabbage with the oil. Then sprinkle some black pepper and some kosher salt. Bake for 30 minutes. Flip and do it again. These were delicious! I totally recommend eating and making them! Super easy! No more waiting till St. Patty's day for cabbage!
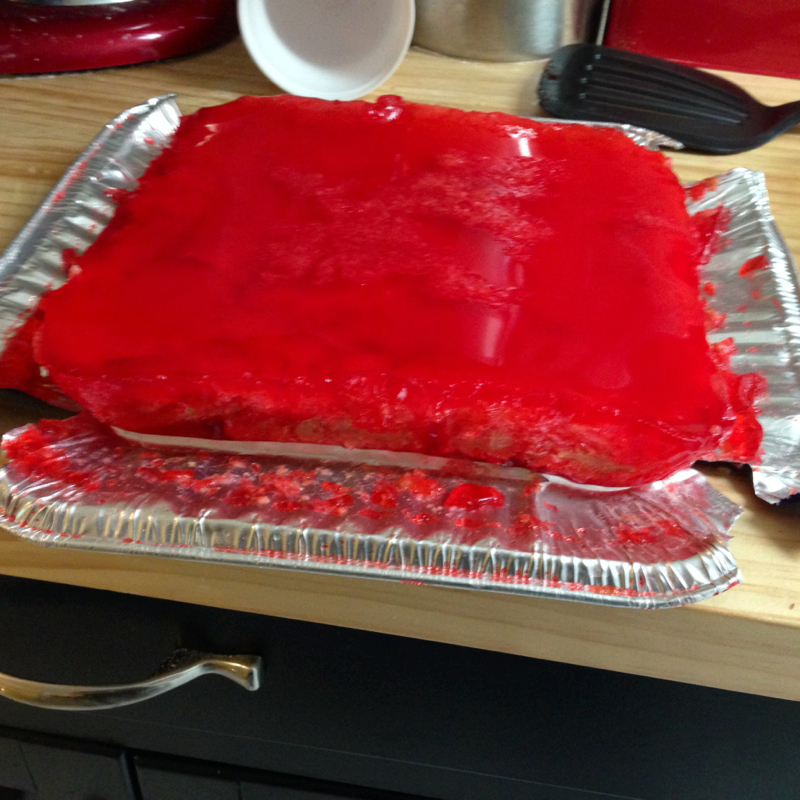
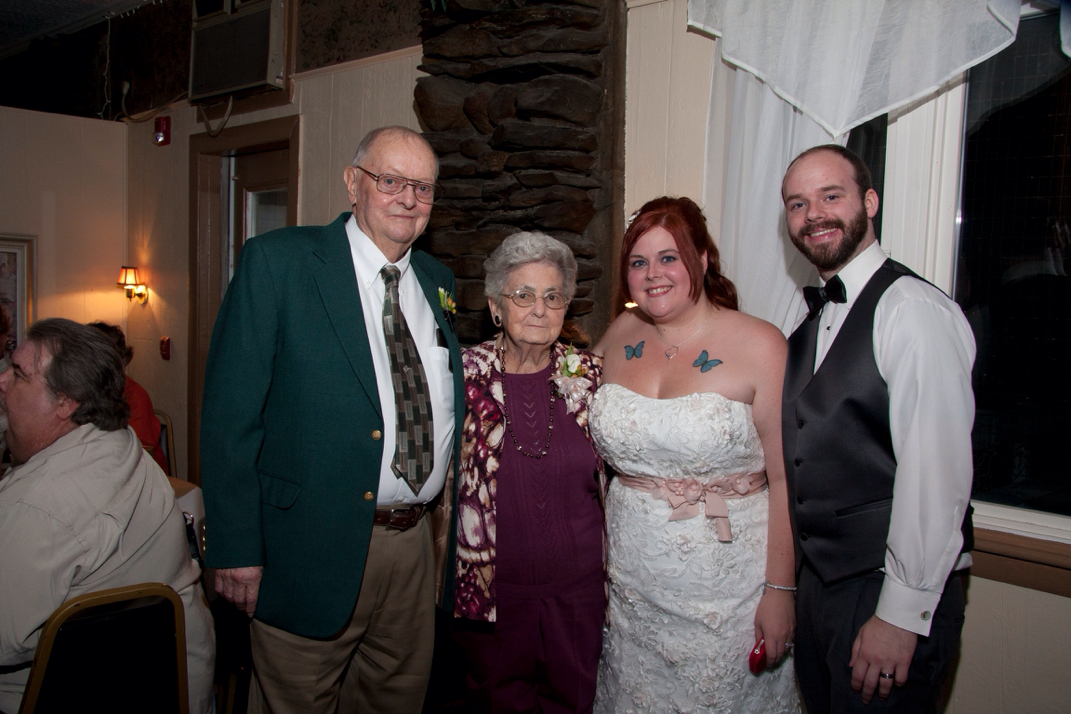
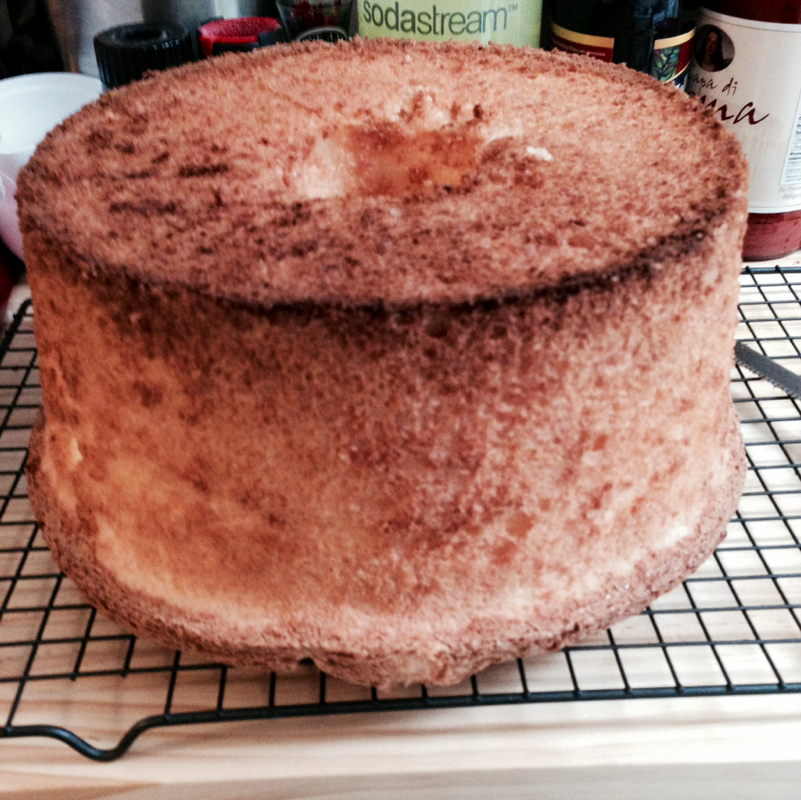
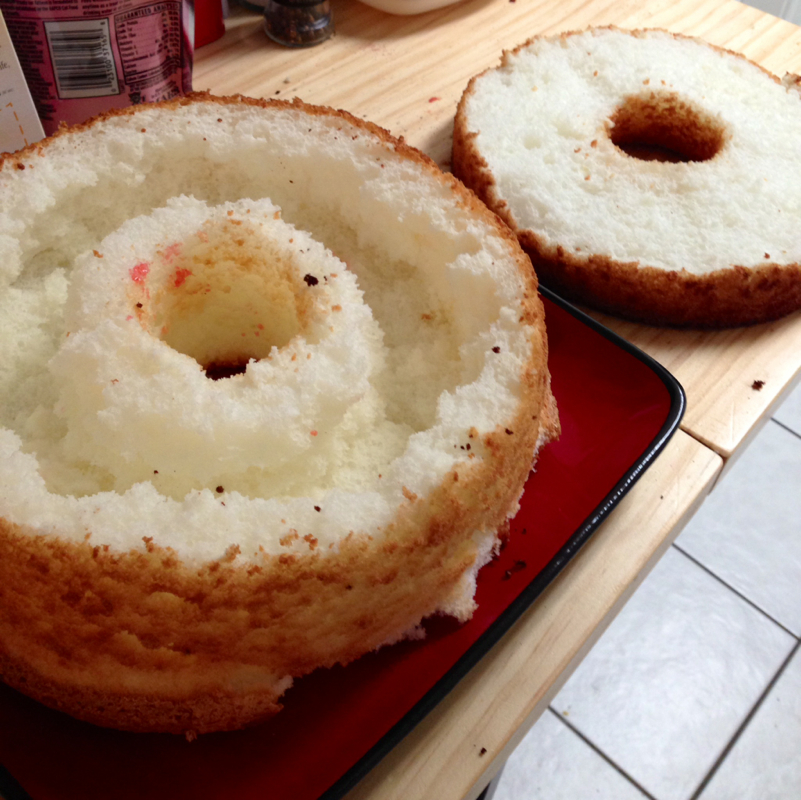
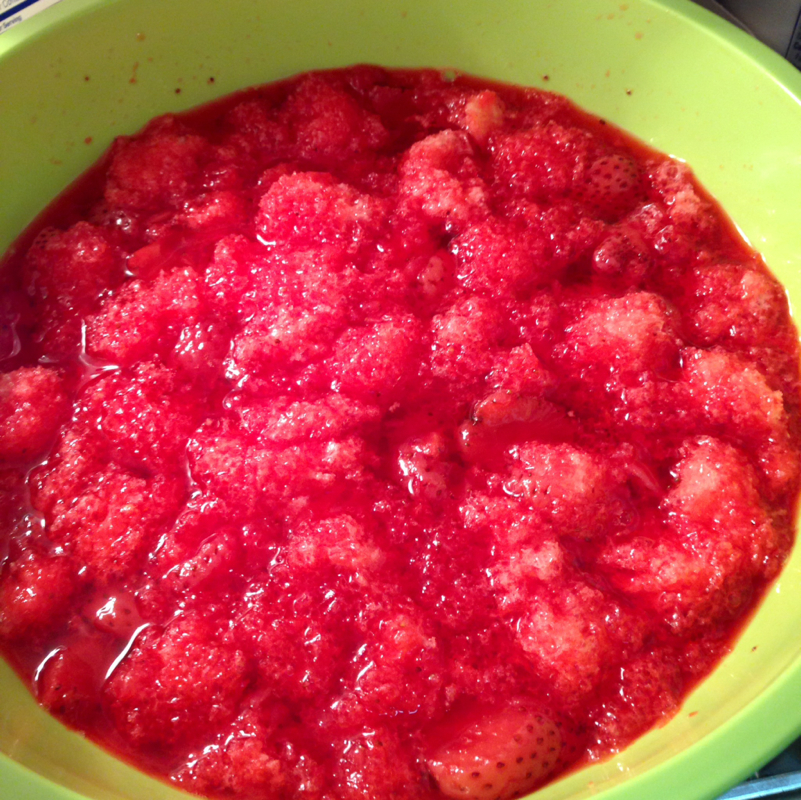
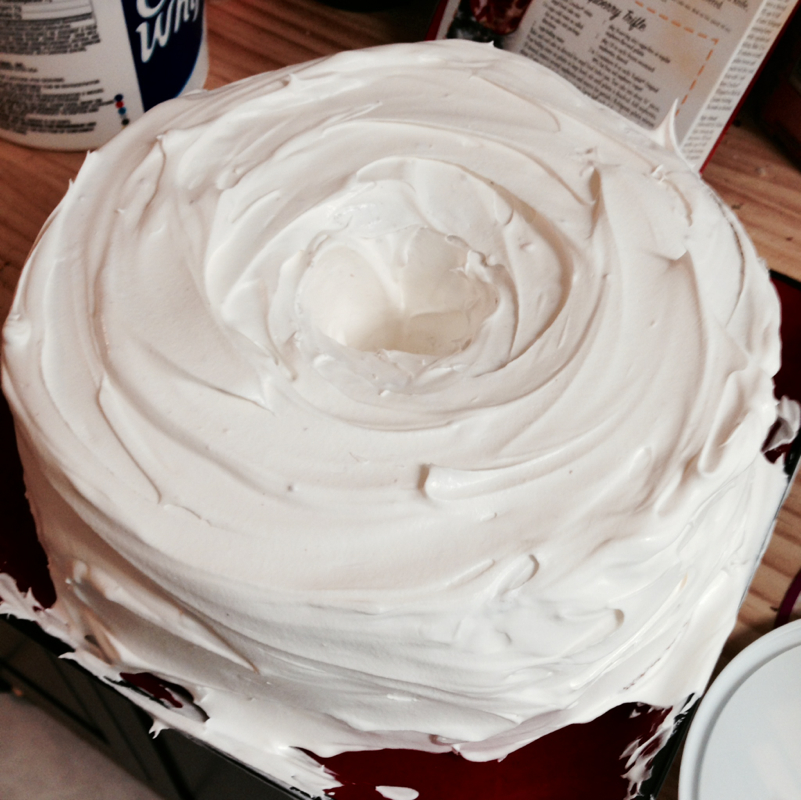
I had debated for a long time adding this recipe to my blog. It was my grandmothers and she made it every year for my mothers birthday. This year on January 21st, my grandmother passed away suddenly. My moms birthday was coming up In a little less than a month. It took me TEN tries to get it just like she makes it. But my mother still got her birthday cake this year. I decided after a few months that my favorite quote "we're all stories in the end, just make it a good one" holds no meaning if we don't share the stories of our loved ones around us. So here is just a piece of my grandmothers story I would like to share with the world. She was a marvoulous cook. This is not a quick recipe. Take your time making this and your patience will pay off. Here is what you will need: 1 box of angel food cake mix 2 packages of strawberry jello 1- 12oz package of frozen strawberries in juice. 1 container of cool whip. Directions. 1) prepare the angel food cake as per the directions on the box. (It helps if you have the angel food cake pan with the removable bottom and let stand) 2) as soon as the cake is done, remove from oven immediately and flip over into legs. Let the cake cool completely before removing from pan. 3) Once the cake is cooled completely and has been removed, cut the top of the cake off. You want the top layer to be about 1 1/2" thick. 4) Carefully pluck out a ring in the bottom layer of the cake. You want to form a well. Be carefull not to break through the sides of the cake. This is where you filling will go, and you don't want it running out on you! Keep all the pieces of cake in a bowl! You're going to need those later!!!! 5) now that you have all those cake pieces In a bowl, it's time to prepare the jello. Follow the directions on the box for the jello. After you add the mix to the boiling water. Remove from heat. 6) add the frozen strawberries to the jello and mix until dissolved. The mixture will start to become more jelly like. 7) once the frozen strawberries has thawed- add all those left over cake pieces! Mix together and throw in the fridge for about 15-20 minutes or until it's "almost" solid. 8) one the jello and cake mixture has begun to set, spoon it into the well you made in the bottom layer of your cake. Fill it right up to the top. 9) add the top layer back to the cake and frost the whole cake with cool whip. 10) refrigerate for about 2-3 hours prior to serving. And enjoy!
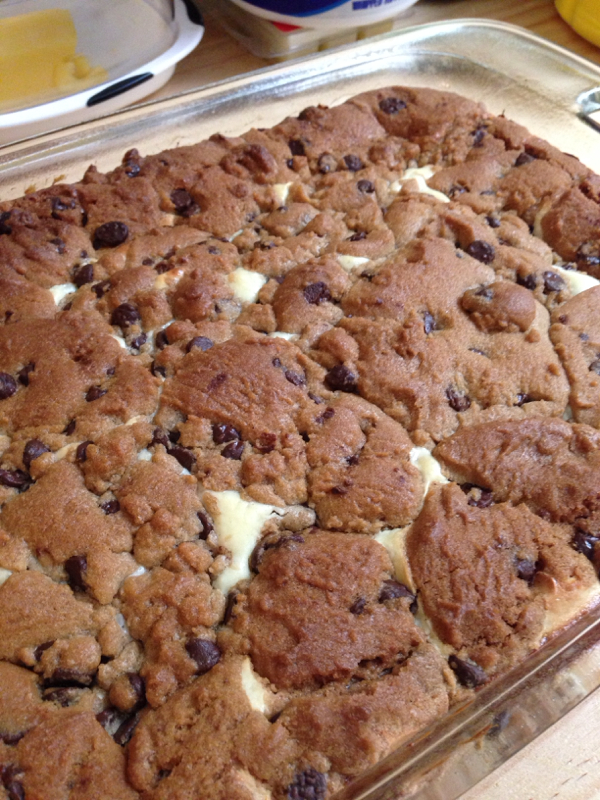
2 pkgs. refrigerated Pillsbury chocolate chip cookie dough
2 (8 oz.) pkgs. cream cheese, softened
2 eggs, beaten
1/2 cup sugar
1 tsp. vanilla
Slice 1 package of cookie dough into 24 slices and line bottom of 13 x 9 inch greased and floured pan.
Mix together cream cheese, eggs, sugar and vanilla and spread on top of sliced cookie dough.
Slice second package of cookie dough into 24 slices and place on top of batter in pan.
Bake 40 minutes at 350 degrees.
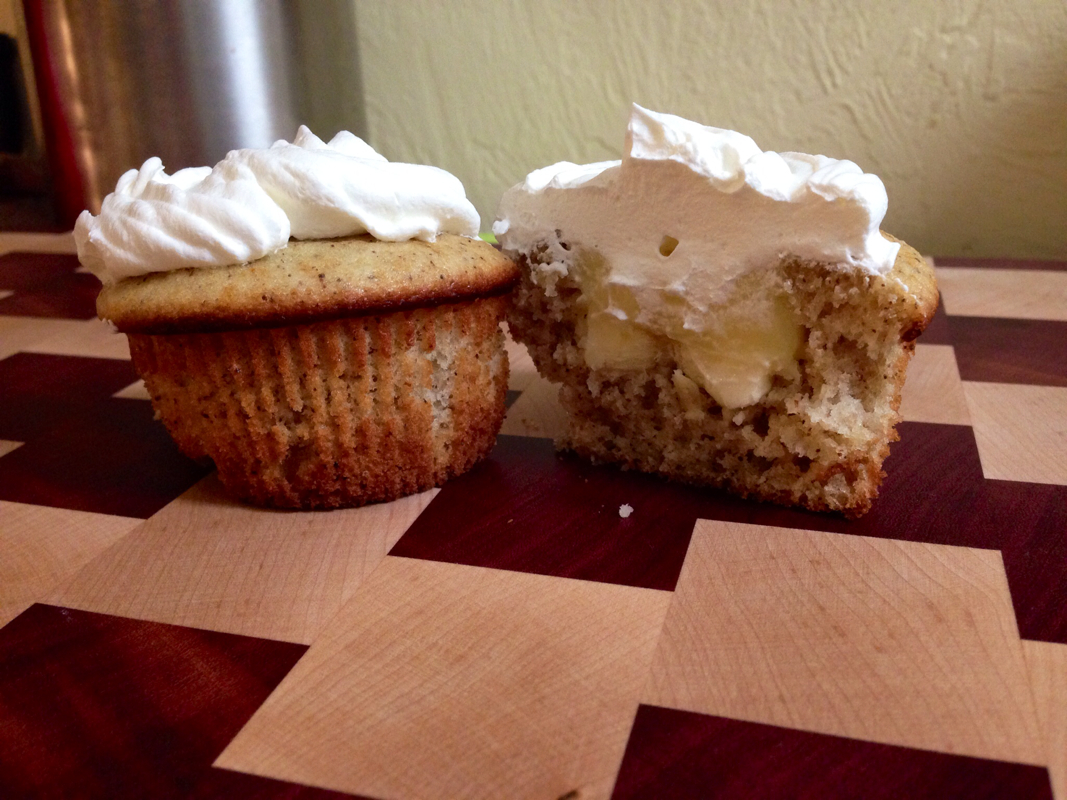
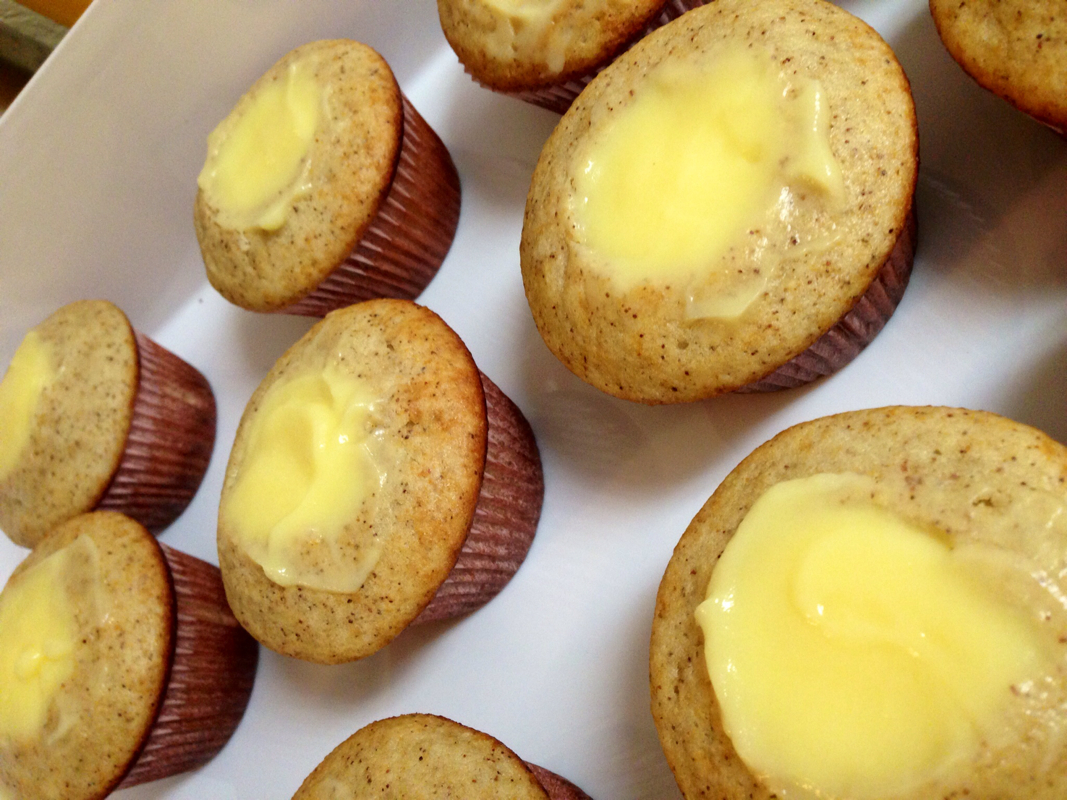
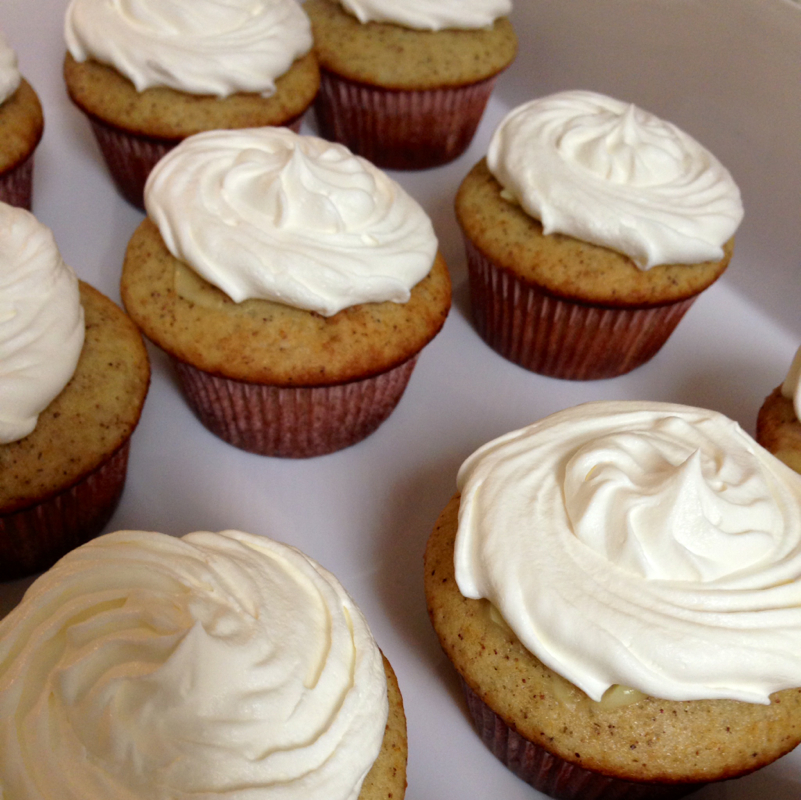
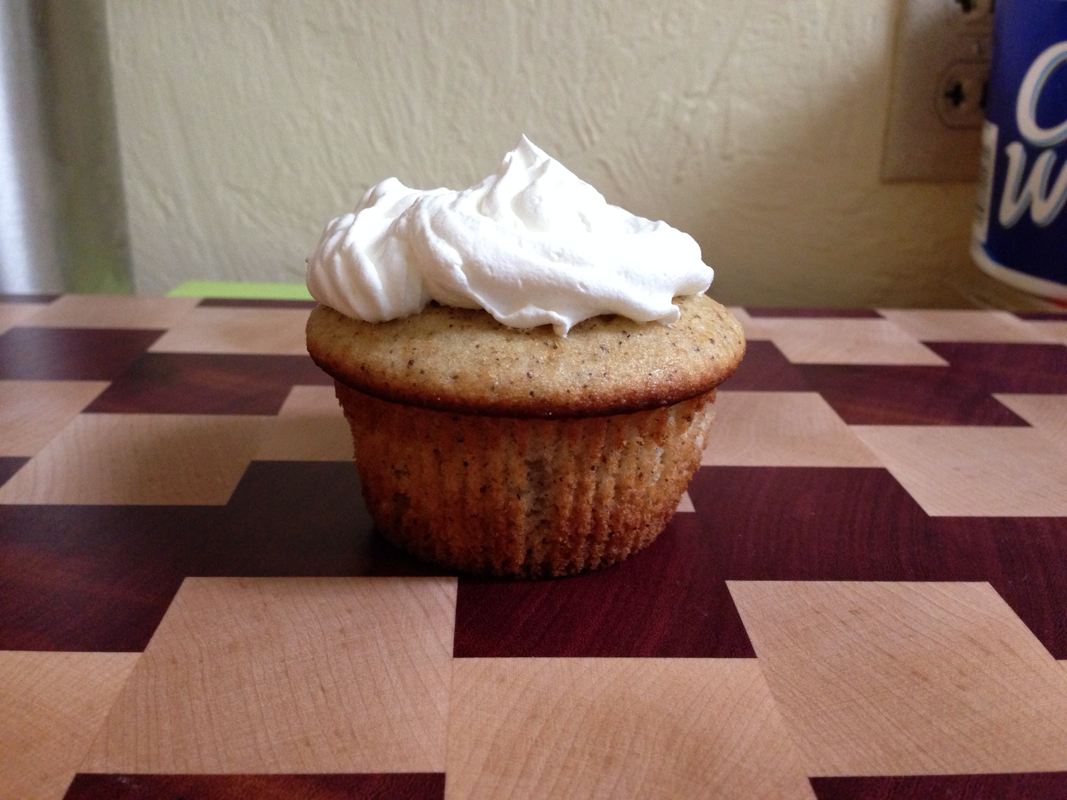
Super easy Banana Cream Pie Cupcakes!!!!!! Cupcakes are amazing. Let's just start there. They are tiny individual cakes. You, as the eater, get to enjoy the full flavor that the baker intended you to. They can be just as decorated too, and the best part? You don't even have to share! Cupcakes are amazing. This recipe is so easy anyone can do it! If you want to make this recipe even easier you can always use pillsbury's quick bread banana bread!! What you'll need for this: Banana cupcakes (see recipe below) Banana Orange juice Banana cream pie pudding (Jell-O brand) Cool whip Space in your refrigerator!!!!! For the cupcakes! Ingredients: 1 1/2 cups all-purpose flour 1 teaspoon baking powder 1 teaspoon baking soda 1/2 teaspoon salt 3 large bananas, mashed 3/4 cup white sugar 1 egg 1/3 cup butter, melted
Directions:
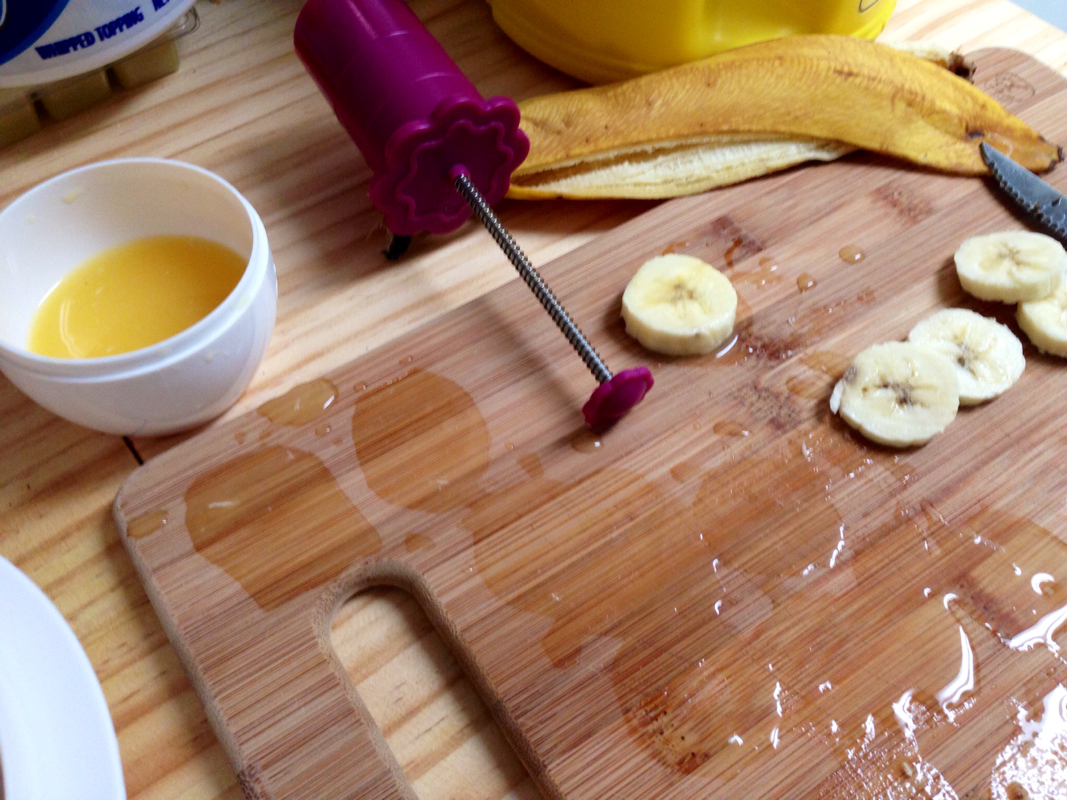
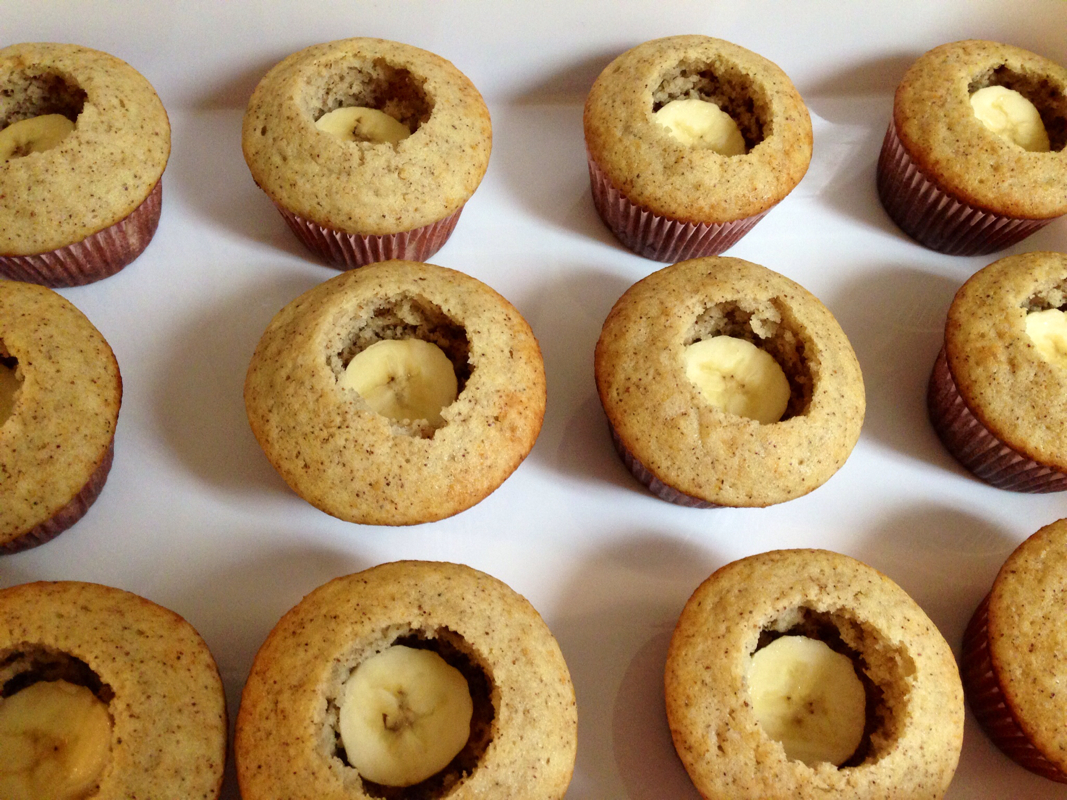
Preheat oven to 350F degrees. Fill cupcake pan using paper liners. Sift together the flour, baking powder, baking soda, and salt; set aside. Combine bananas, sugar, egg, and melted butter in a large bowl. Fold in flour mixture, and mix - do not use a beater, mix with a spoon until batter is equally moist. Scoop into cupcake pan. Bake in preheated oven. Bake cupcakes for 25 to 30 minutes. They will spring back when lightly tapped. After the cupcakes are all done baking! Let then cool completely. This will give you a chance to prepare your next step!!! While your cupcakes are cooling, prepare the Banana Cream Pie flavored jello pudding as instructed on the side of the box, let that sit in the fridge for about 5 minutes to really set. Cut your banana (you'll only need one for every twelve cupcakes!) slice them in about 1/8" thick slices. Pour yourself a saucer of orange juice. And make sure your cool whip is completely thawed. Now that everything is all set and your cupcakes have cooled, core them. I find the easiest way to do this is to buy a cupcake corer, they are about $6. And they give you a nice even core. Take a banana slice and dip it in the orange juice, this helps keep the banana from turning brown. Let the excess orange juice drip from the slice and place in the bottom of your core. Repeat this process for all of your cupcakes. Once all of your cupcakes have banana slices, take your pudding and carefully spoon it into each cupcake ontop of the banana slice. Next step is to frost with the cool whip. You can make your own whip cream if you prefer, but I've always liked cool whip. I use a pampered chef decorator tool to help me with this part so they'll look pretty. As I'm entirely shallow, it isnt all about the taste. It's also about presentation. Frost the top all around the exposed pudding. Refrigerate these puppies for at least one hour prior to serving. Enjoy!
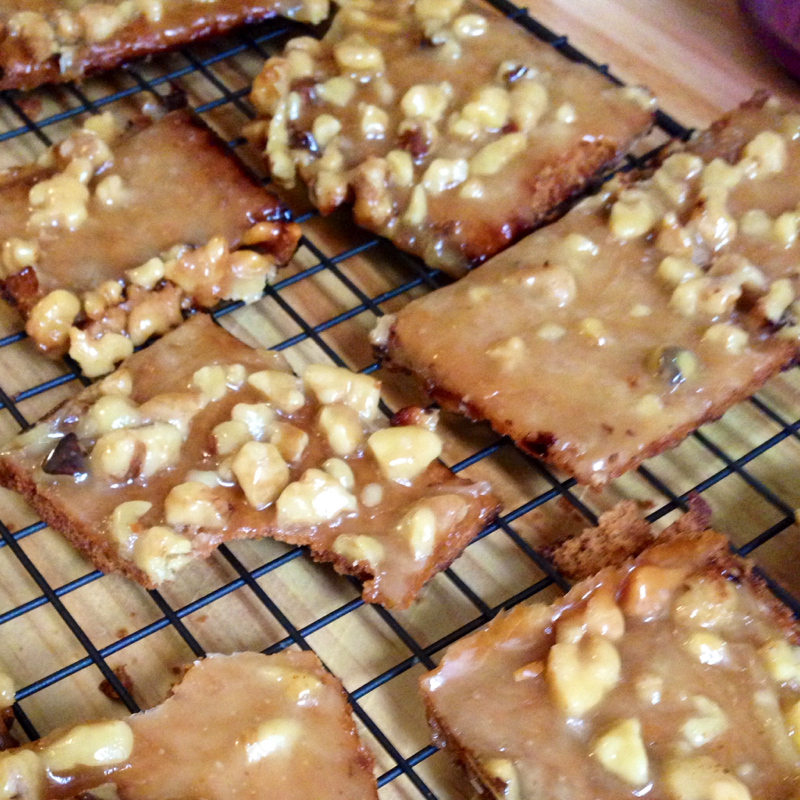
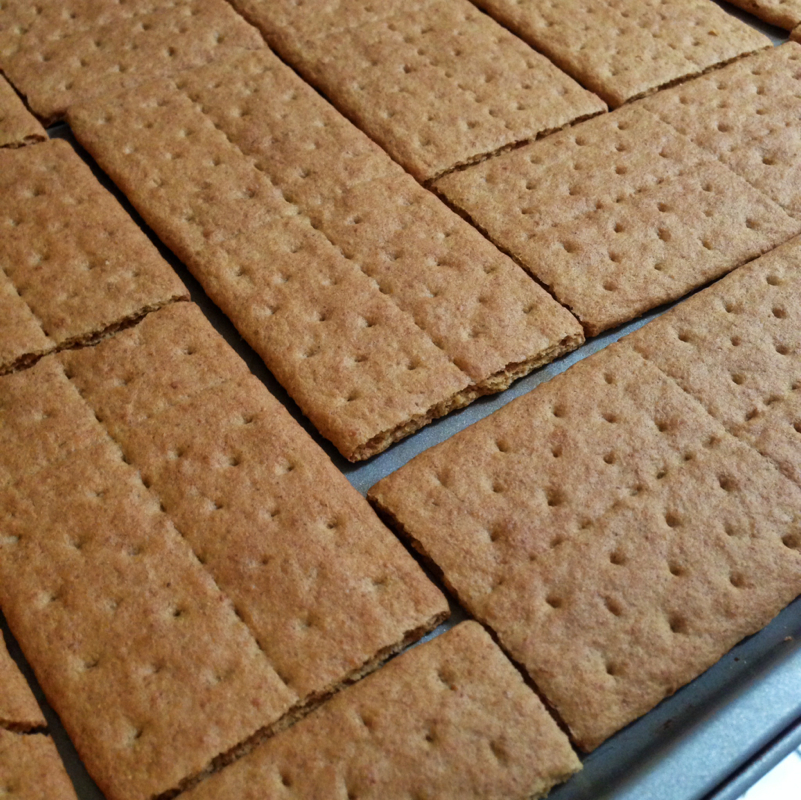
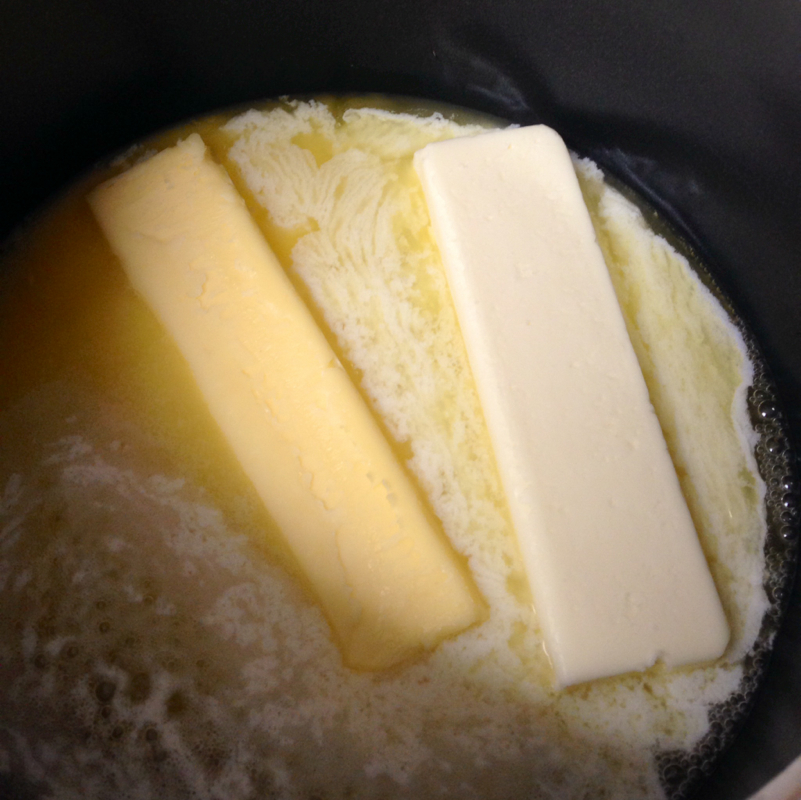
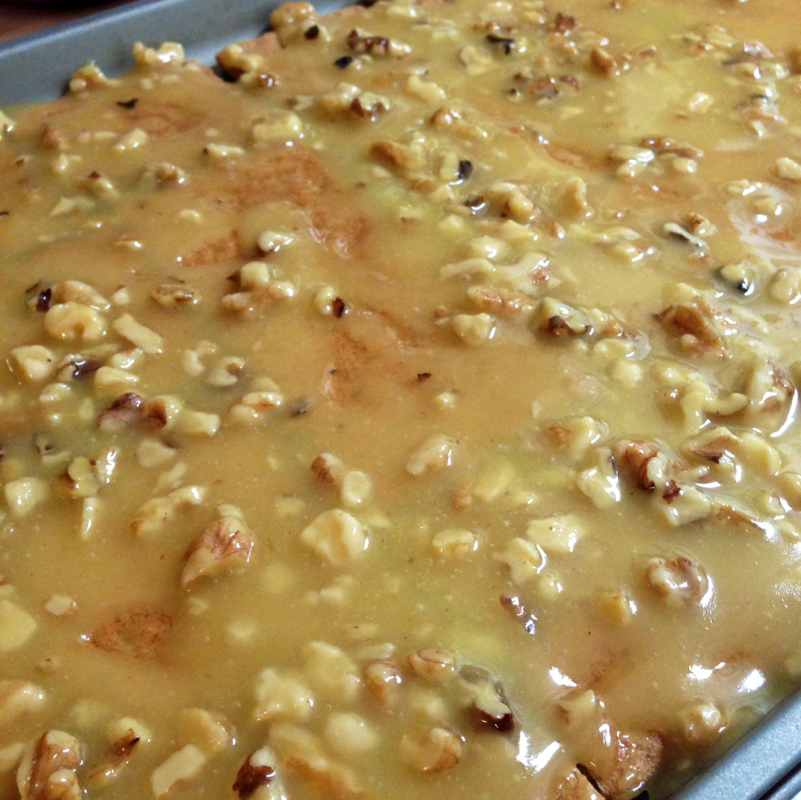
My gram used to make these for all the holidays. You can't have just one. And she had perfected this recipe, no matter how many time she would tell us, "they weren't her best" and they were "too soggy". They were ALWAYS her best and they were never soggy. If you have a NUT ALLERGY these are not for you. Although you could totally substitute the nuts for chocolate chips and just add them on after baking.... Jus sayin. You will need: Honey graham crackers 1/2 cup of butter 1/2 cup margarine 1/2 cup white sugar 3/4 cup chopped walnuts Parchment paper A cookie sheet Preheat your oven to 350F degrees. Line a cookie sheet with PARCHMENT PAPER. (Do not substitute for wax paper! It's not the same!) Line your cookie sheet with a single layer of graham crackers. Once your oven is preheated- melt your butter, and margarine. Add Sugar and stir constantly until dissolved- 2 minutes. Stir in your chopped walnuts! Drizzle the mixture over the graham crackers. Spread out as evenly as possible. (I used a pastry brush and tried to move around all the walnuts equally) Immediately put your cookie sheet into your oven and bake for 8-10 minutes. No more than this! It's very easy to burn! Practice makes perfect! Take your pan out of the oven and carefully remove the parchment paper to a cooling rack. Once cooled break up the cookies! Make sure you make a lot! These go fast!
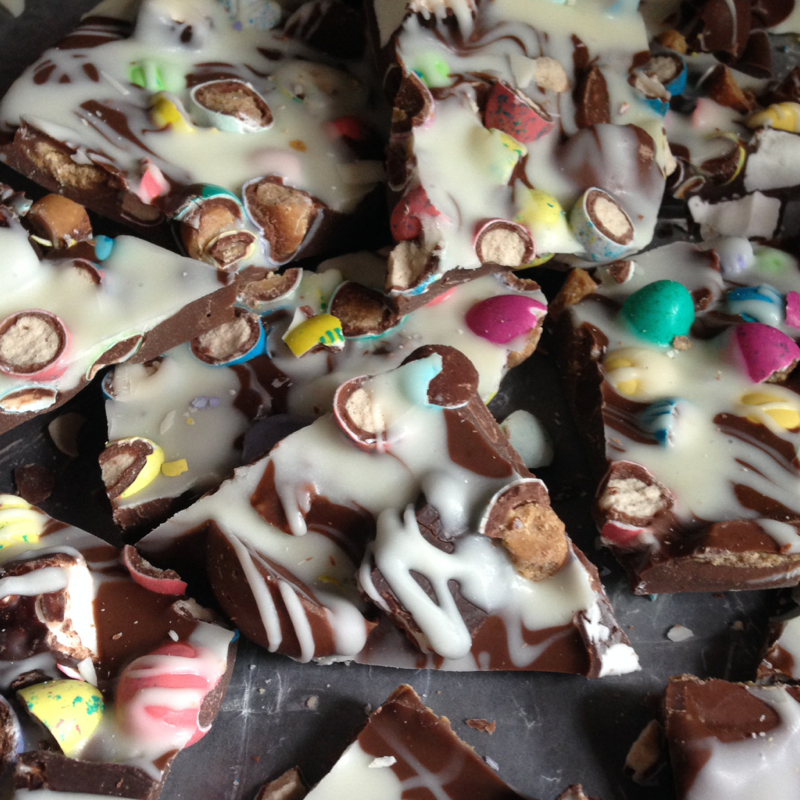
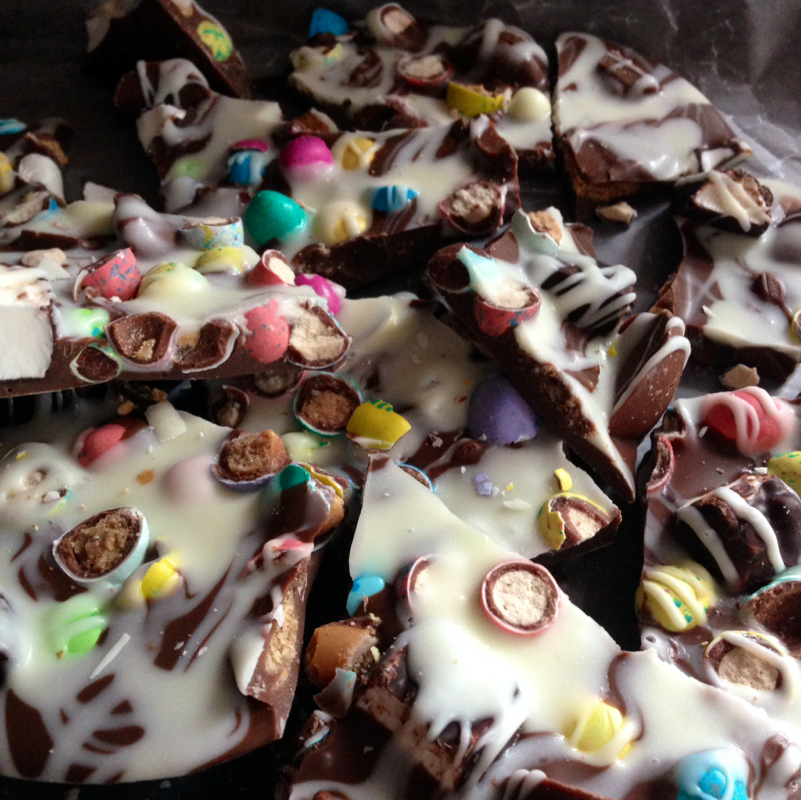
I got an email from my darling sister asking me to make this one for her. So, because I love her, and this did look amazing, I did! I added my own twist on it. The original recipe calls for white chocolate only, which I am not the biggest fan of, so I substituted milk chocolate, and drizzled white chocolate over the top. Here's what you'll need: Cookie sheet Wax paper 1- 12oz bag of milk chocolate melting chocolate (the Wilson brand tastes pretty good) 1- 12oz bag of white melting chocolate All of your favorite Easter candy (I used chocolate covered marshmellow bunnies, rice crispy bunny money, Robbin eggs, Reese's pb eggs, chocolate m&m's, and peanut butter m&m's) Directions: Place the wax paper on top of your cookie sheet and set aside. Get your candy prepared first. I chopped almost everything in half, at about a 1/2 cup each. I sliced the marshmellow bunnies and the rice crispy bunny money into small bite sized pieces. Now that your candy is prepared, it's time to melt the chocolate. Take the entire 12oz package of milk chocolate and put it into a microwave safe bowl. Add about half the package of the white chocolate to another bowl. Now start with the milk chocolate and put it in the microwave for 30 second intervals. After each 30 seconds take it out and mix it up with a spoon. While your mixing it go ahead and throw the white chocolate in the microwave. Keep alternating the two between stirring and melting. You want the chocolate to be smooth. Pour the milk chocolate onto your wax paper. Right into one big chocolate puddle. After, give your cookie sheet a good shimmy on your counter to smooth out the chocolate. It's not enough chocolate to cover your entire cookie sheet, don't worry about that. And you don't want your chocolate to be too thin either. Practice makes perfect, but your aiming for about 1/4" thick. While the chocolate is still liquid, start sprinkling all your candy pieces onto your chocolate. You want it to be crowded. Now you may need to throw your white chocolate back in the microwave for another 30 seconds if you notice it's starting to set. Dip a spoon into the white chocolate and drizzle it over your masterpiece. Place your chocolate into the freezer for about 30 minutes. You want the chocolate to be set, and frozen. The chocolate is easier to break when frozen. Once taken out of the freezer carefully peel the chocolate away from the wax paper. Then start breaking it up. And Voila! Delicious and colorful Bunny Bark for the holiday!
|